The GPT-Image-2 Prompt Guide: 15 Field-Tested Techniques + The Layer Method (2026)
GPT-Image-2 prompt guide: 15 field-tested techniques including the layer method, text rendering tricks, and 3 fatal mistakes. Distilled from hundreds of community generations.

You wrote a careful 300-word prompt, waited 30 seconds, and got back a picture covered in random gibberish text you didn't ask for. The background color is completely wrong. The character has six fingers. You delete it and try again — the second one is worse. Sound familiar? This guide is written to fix exactly that.
Most GPT-Image-2 tutorials read like the author ran five prompts and called it a day. Drawing on hundreds of generations across the early-user community, this is what actually separates "shippable production output" from "AI slop".
Worth flagging up front: the old prompt methodology is wrong. The keyword-stacking approach that worked on DALL-E 3 and Midjourney actively hurts you on GPT-Image-2. This model has reasoning baked in — it thinks before it draws. That fundamentally changes how you talk to it.
If you keep hitting unstable results, text appearing in places you didn't ask for, or that weird "silicone" look on faces, this guide will reset your workflow. Every technique here has been validated across many community runs, and the article tells you not just what to do but why it works specifically for this model.
The Single Most Important Thing to Understand
GPT-Image-2 is not a keyword-matching engine. It's a natural-language model with O-series reasoning layered on top. That means:
- It prefers clear descriptions over keyword lists
- It plans the composition before generating (in Thinking Mode)
- It interprets prompts more literally than previous models
- Its text rendering is so good that it adds text you didn't ask for
Every technique below comes out of those four facts.
The Foundation: The Layer Method
This is the single most impactful technique the community has converged on. Don't write one giant prompt. Build the image in conversational layers.
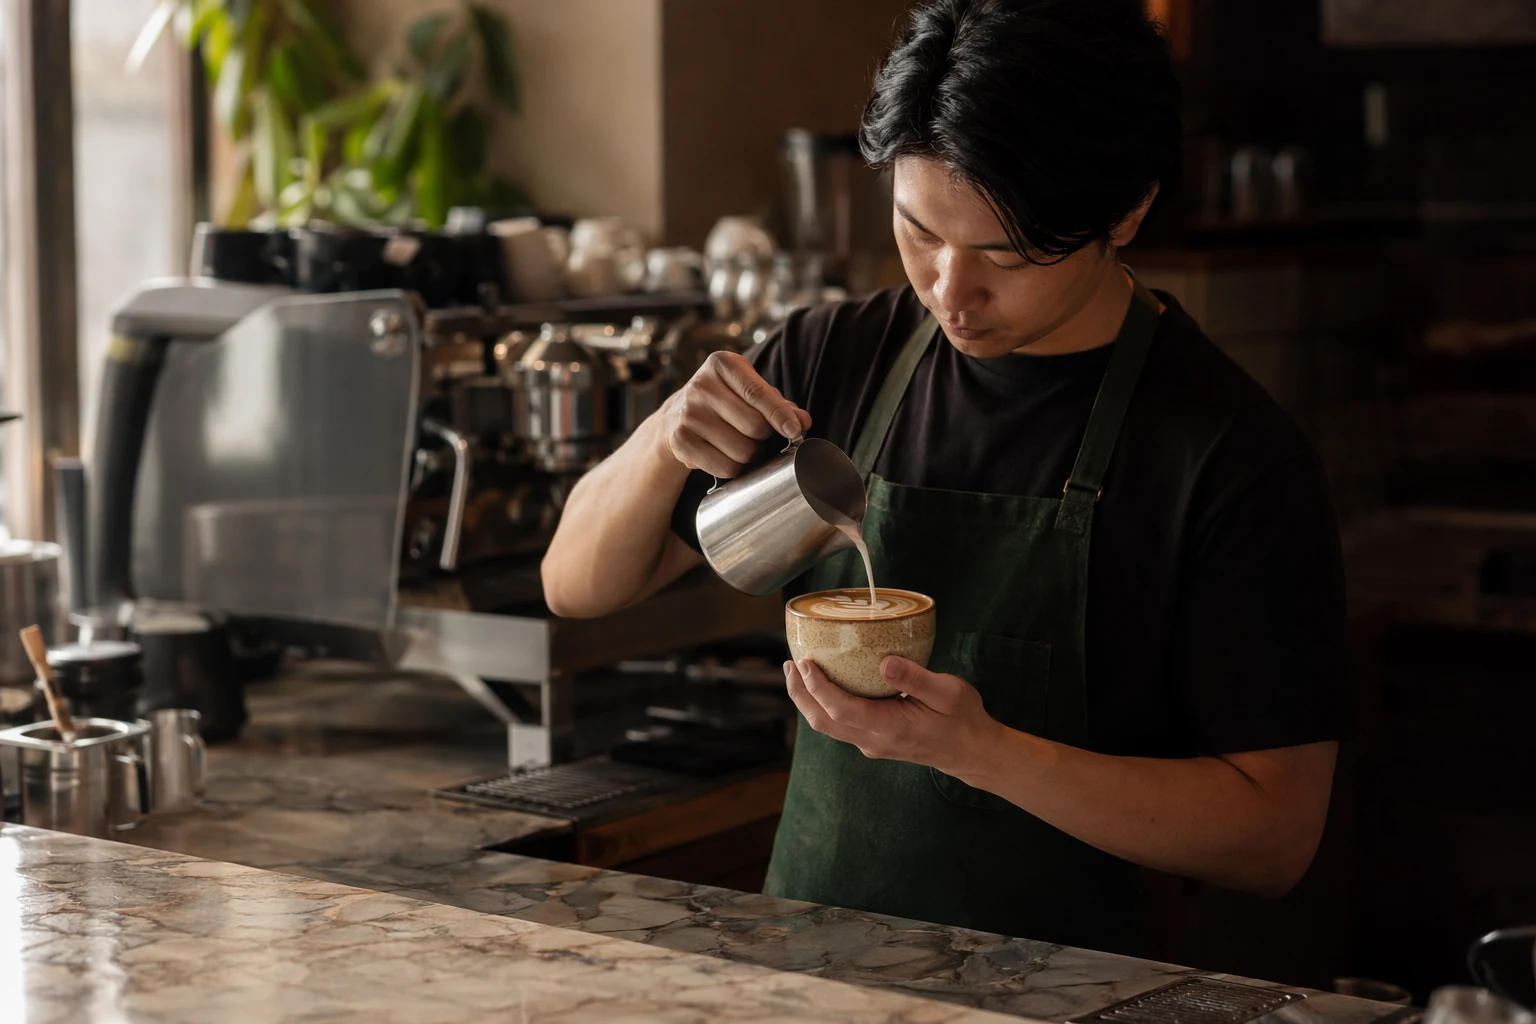
Layer 1 — Composition: "A coffee shop interior, morning light streaming through floor-to-ceiling windows, a wooden counter in the foreground with pastries displayed."
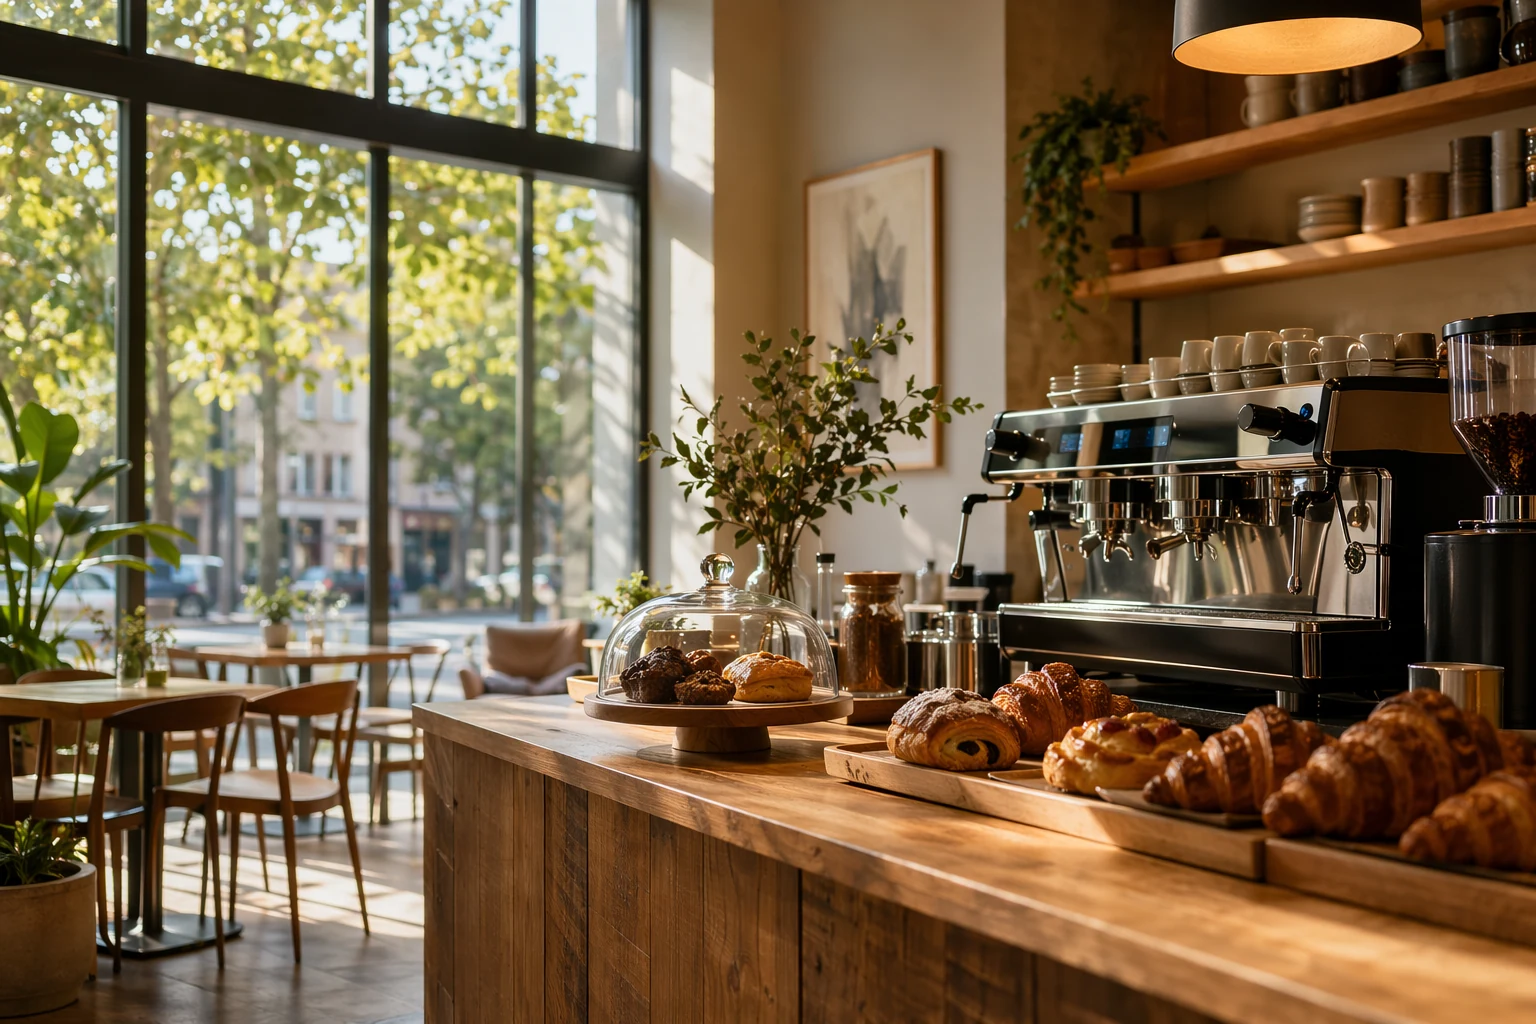
Layer 2 — Style: "Render this in warm editorial photography style, shallow depth of field, shot at eye level."

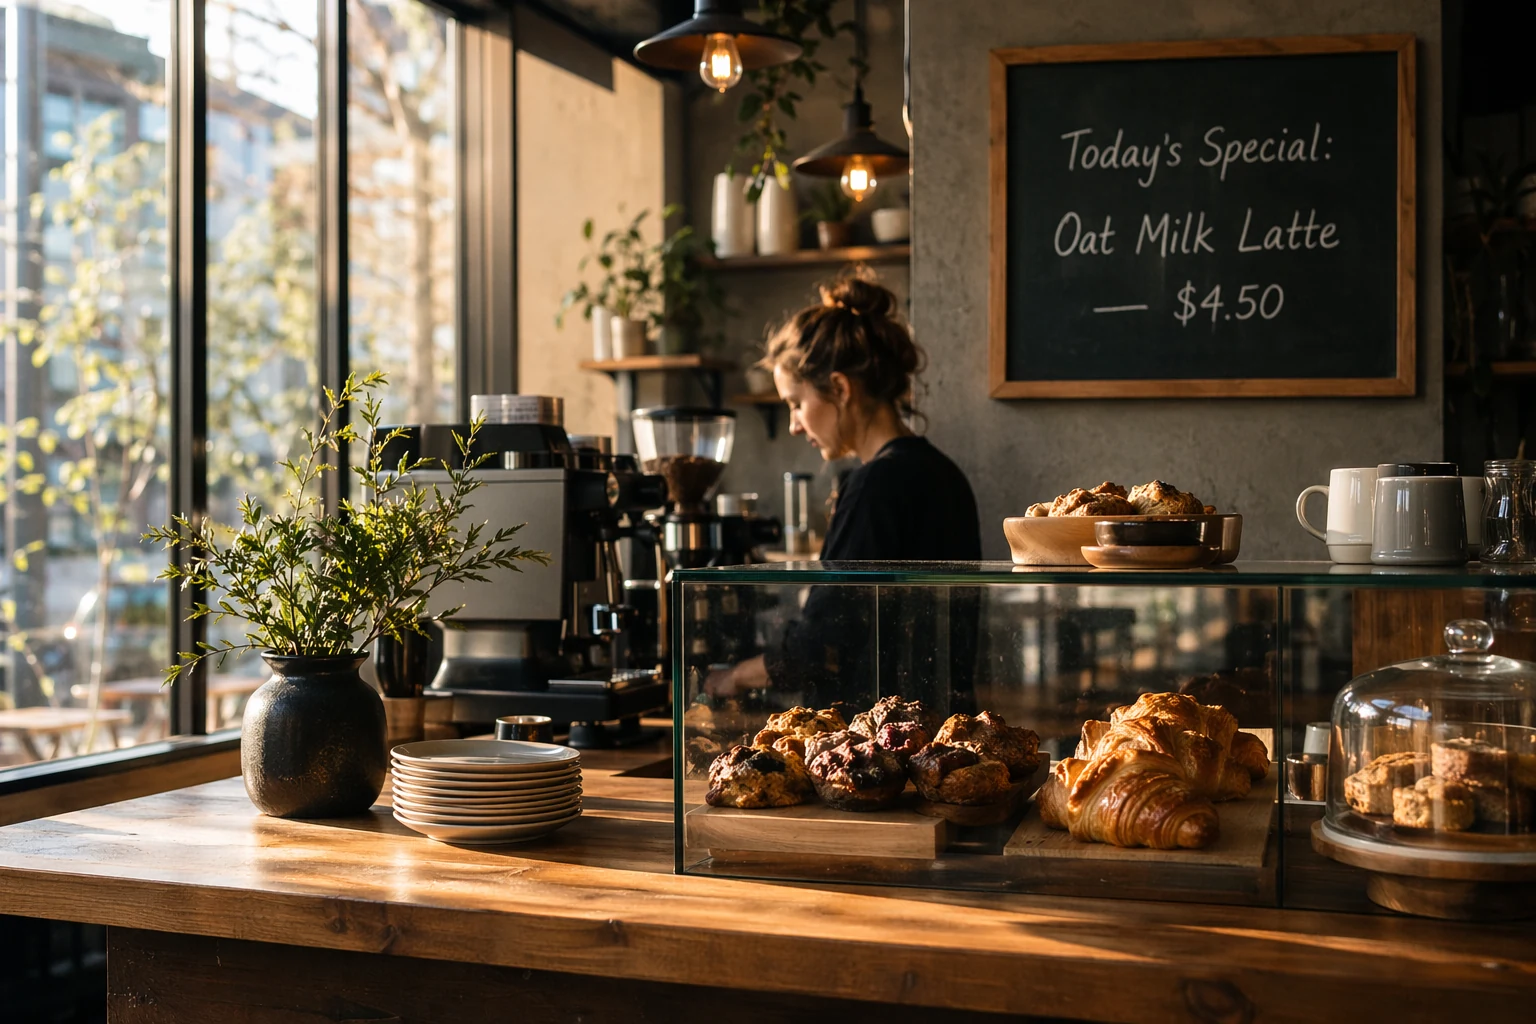
Layer 3 — Typography: Add a chalkboard menu on the wall behind the counter with the text "Today's Special: Oat Milk Latte — $4.50" in handwritten chalk style.
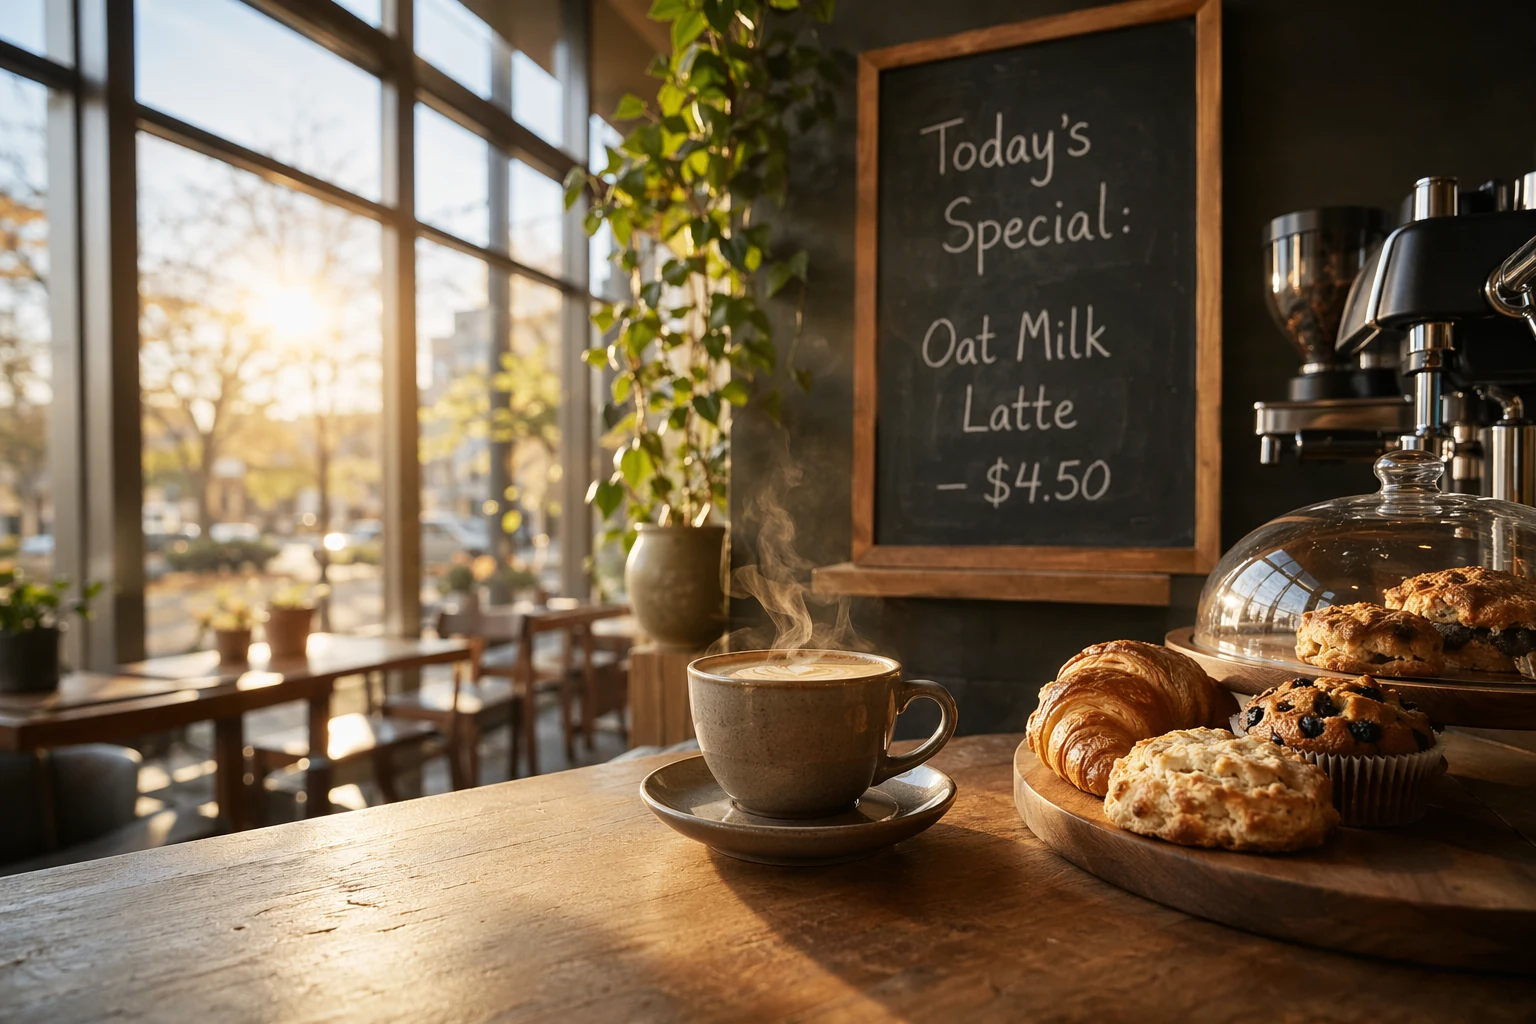
Layer 4 — Detail polish: "Make the light warmer, more golden. Add a subtle steam rising from a coffee cup on the counter."
Why it works: GPT-Image-2's conversational memory means each layer builds on the previous one. You can inspect and adjust at every stage. This is far more controllable than trying to specify everything in one prompt.
The 15 Techniques
Foundations: How to Control Output Quality
These four techniques are the foundation for everything else. If you only have time for four, learn these.
Technique 1: Keep prompts under 500 words — really
The API accepts up to 32,000 tokens. That's a ceiling, not a target. Community testing has confirmed that past a few hundred tokens, the model starts ignoring earlier instructions. The actual sweet spot: 100–300 words for Instant Mode, up to 500 words for Thinking Mode.
Early users reported that describing the same scene with a 150-word prompt versus a 600-word version produced more consistent and accurate results from the shorter one. The longer version rendered the later instructions and quietly dropped the constraints from the top.
Technique 2: Put exact text inside quotes
This is technique number one for text rendering. Any copy that must appear in the image goes in quotes:
Weak prompt: Create a sale banner that says 30 percent off spring collection.

Strong prompt: Create a sale banner with the headline "30% OFF SPRING COLLECTION" centered on a pastel gradient background.

GPT-Image-2 hits about 99% character-level accuracy, but only when it knows exactly what to render. Vague text descriptions produce vague text output.
Technique 3: Always include the anti-text negative
This isn't optional. GPT-Image-2's text engine is so strong that it generates text everywhere — labels, watermarks, words on random surfaces. Every prompt needs this suffix:
"No extra text, no additional words, no random lettering, no watermarks, no labels unless specifically requested."
Community tests show that without this directive, about 60% of images came back with extraneous text. With it, the rate dropped below 10%.
Technique 4: Use Thinking Mode for text or multi-element scenes
Instant Mode (3–5 seconds) is fine for simple single-subject images. But for any of:
- Text that must be accurate
- More than 3 distinct elements
- Specific spatial relationships
- Multilingual content
…switch to Thinking Mode. The model will spend 10–30 seconds planning the composition, verifying object counts, checking text constraints, before generating. The quality difference is obvious.
Intermediate: Precise Control Over Composition and Style
Once you have the foundations down, these six techniques take you from "usable" to "precisely controlled".
Technique 5: Write prompts like you're describing a photograph, not a fantasy
GPT-Image-2 outputs photorealism by default. Lean into that. Instead of describing the scene you imagine, describe what a photographer would see through the viewfinder:
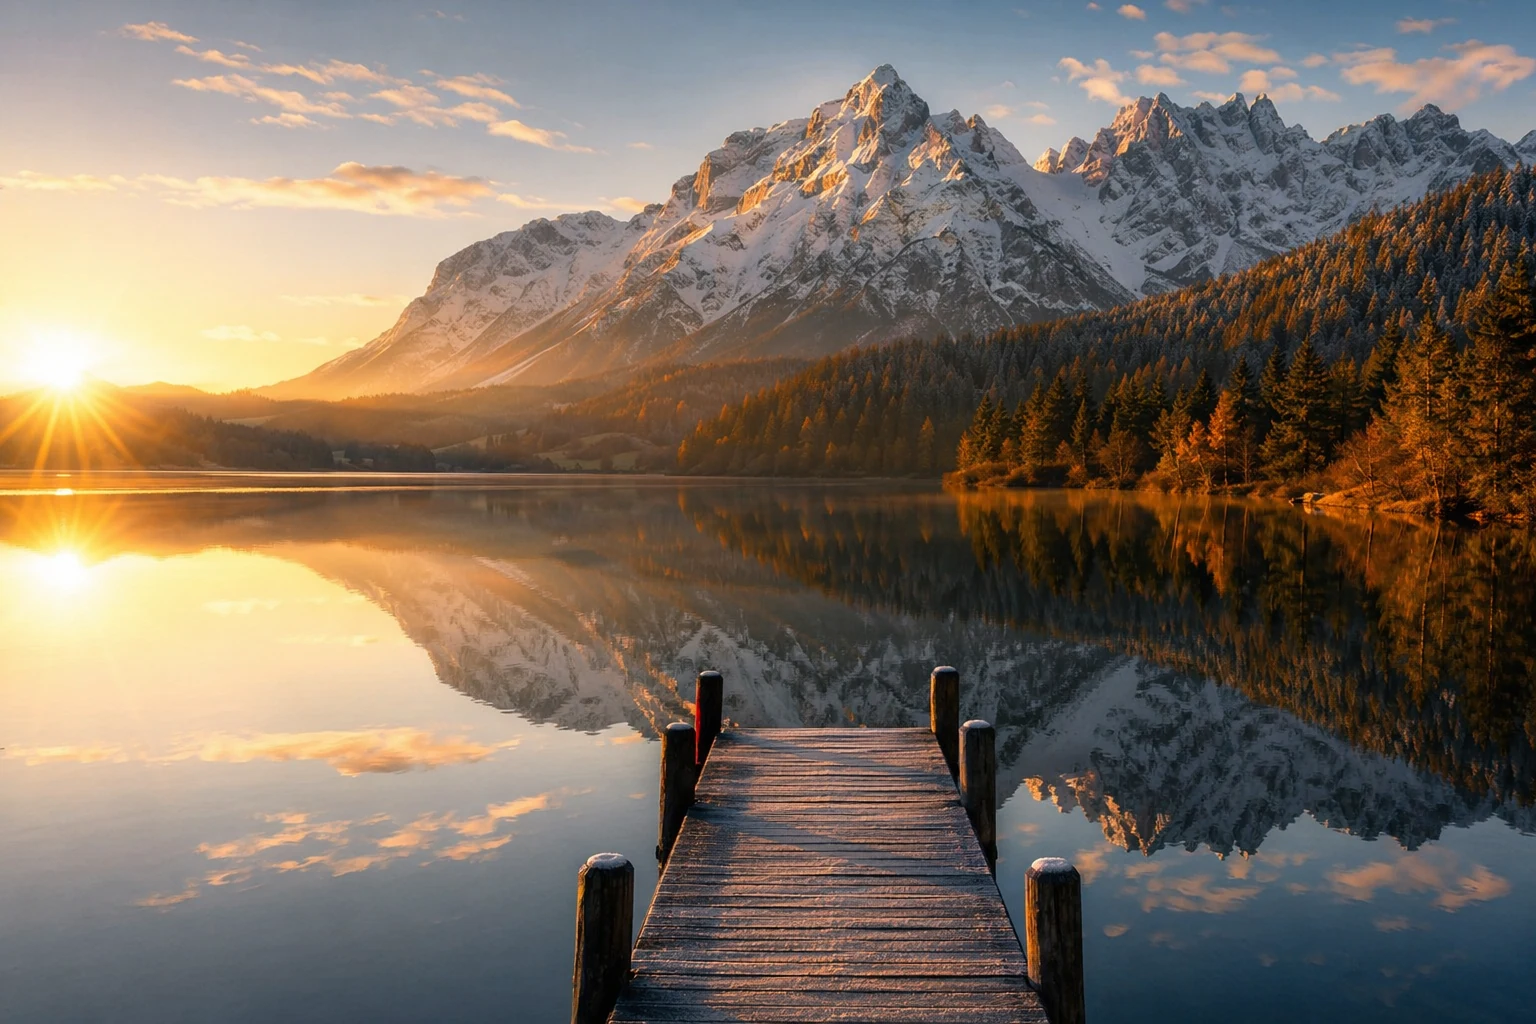
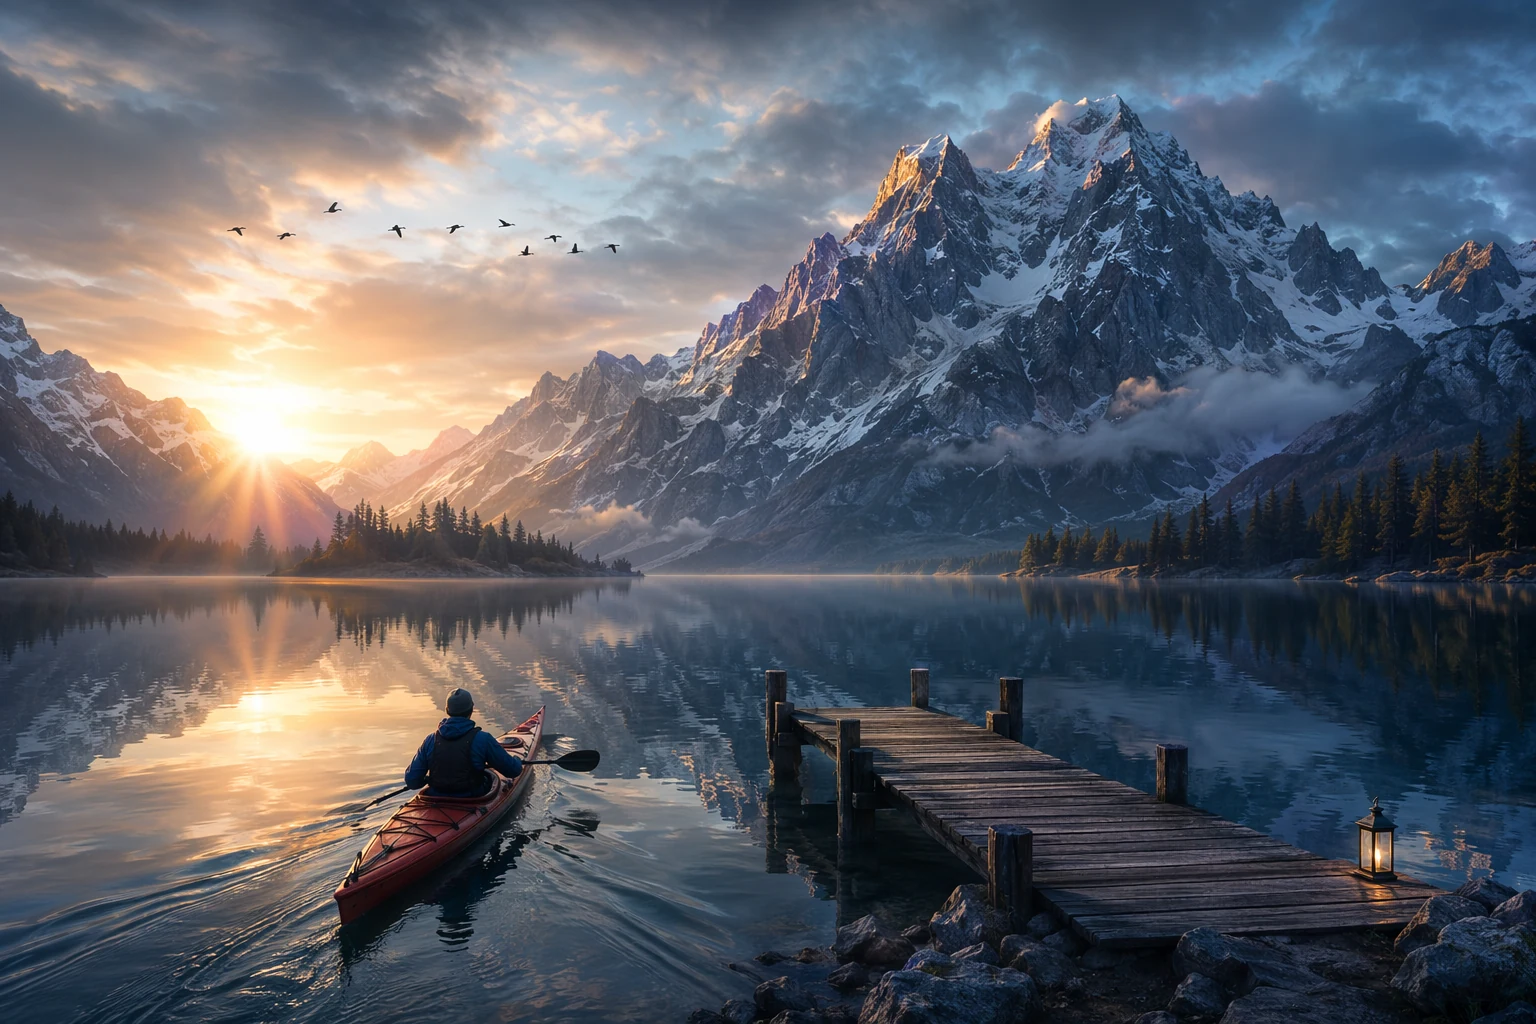
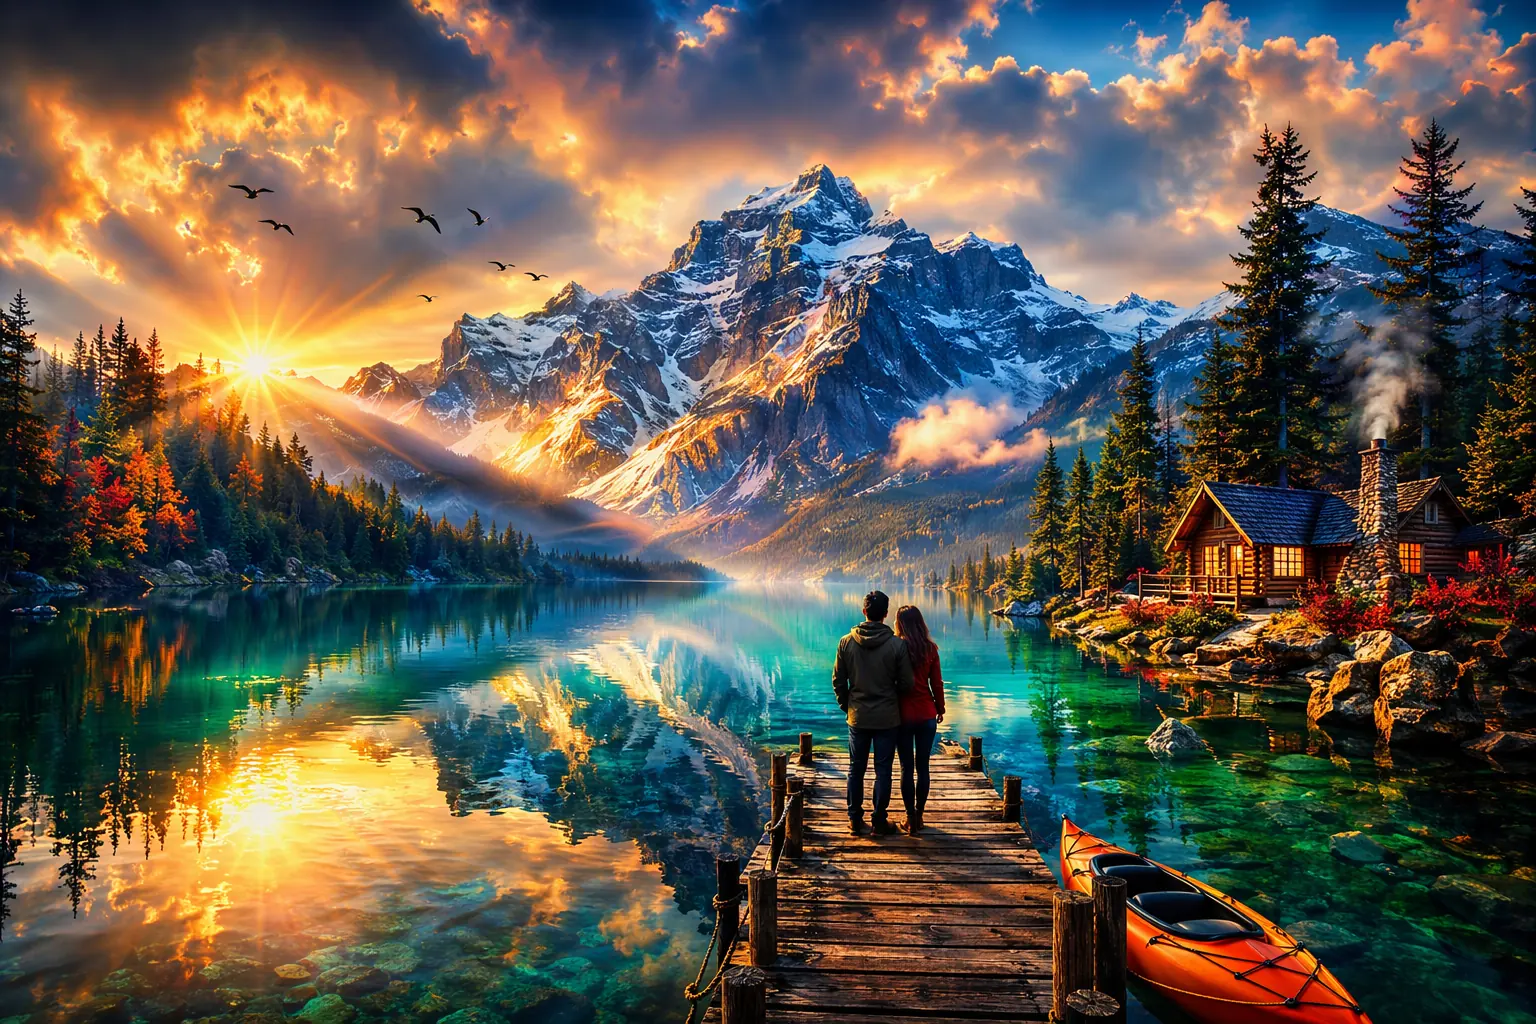
Weak prompt: A beautiful sunset over mountains with a person looking at it.
Strong prompt: A woman in a denim jacket photographed from behind, standing on a rocky ridge overlooking layered mountain ranges. Golden hour, warm directional light from the left. Shot at 85mm, f/2.8, shallow depth of field. The mountains fade into haze in the distance.
Photographic terms are extremely effective: focal length, aperture, light direction, shooting angle (eye-level, low-angle, top-down), and surface texture all translate into meaningful output changes.
Technique 6: Specify text position explicitly
Don't just say what text to include — say where it goes:
Weak prompt: Add the company name and tagline.
Strong prompt: Place "AURORA COFFEE" in bold sans-serif at the top-center of the image. Below it, in smaller italic text: "Roasted Fresh Daily." Both in white against the dark background.
The model follows spatial directives: "top-left corner", "centered banner", "bottom-right watermark position", "along the left margin".
Technique 7: Don't iterate more than 3 times
This is the counterintuitive lesson the community learned the hard way. Multiple early users documented the appearance of obvious "noise pattern" after 3+ rounds of refinement, with shadows and lighting beginning to degrade. The more you iterate, the worse it gets.
The fix: if you're not close after the third iteration, restart with a revised prompt rather than continuing to refine. Your fourth edit will be worse than a fresh first generation with a better prompt.
Technique 8: Use tactical editing instead of full regeneration
When something is wrong in an image — a typo, a color, a misplaced element — don't regenerate the whole thing. Use the editing feature to select that specific area and fix only that part.
In ChatGPT you can lasso or select the problem region and describe the change: "Change this text to read 'OPENING HOURS' instead of 'OPENNING HOURS'." This preserves everything else and avoids the iteration-degradation problem.
Technique 9: The six-element prompt structure
Per the OpenAI prompting guide, every solid GPT-Image-2 prompt covers six building blocks. You don't need all six every time, but having a mental checklist prevents vague prompts:
- Subject — what is it? (a barista, a product package, a dashboard UI)
- Action — what's happening? (pouring latte art, sitting on a shelf, displaying analytics)
- Scene — where? (behind a marble counter, in a modern grocery store, on a MacBook screen)
- Composition — how is it framed? (close-up, wide shot, top-down flat lay, three-quarter angle)
- Lighting — what's the light source? (soft window light from the left, studio strobe, golden hour)
- Style — what aesthetic? (editorial photography, flat vector illustration, watercolor)
Technique 10: Spell out hard words letter by letter
For brand names, uncommon words, or non-English terms where you absolutely need correct spelling:
Display the brand name "ZEITGEIST" (Z-E-I-T-G-E-I-S-T) in bold lettering across the top.
The letter-by-letter spelling acts as a verification cue for the model. It bumps accuracy on hard-to-spell words from ~95% to ~99%.
Advanced: Consistency and Batch Production
These five techniques are for users producing at scale or with hard consistency requirements.
Technique 11: Use reference images (up to 16)
In edit mode, GPT-Image-2 accepts up to 16 reference images. For consistency-driven work, this is transformative:
"Use Image 1 for the character's face, Image 2 for the outfit style, Image 3 for the color palette, and Image 4 for the background architecture."
For brand work, upload your style guide, color palette, and existing assets and let the model match them. This is far more effective than describing your brand verbally.
Technique 12: Lock the aspect ratio first, never crop after
GPT-Image-2 natively supports ratios from 3:1 to 1:3, including 16:9 and 9:16. Always generate at your target ratio rather than generating square and cropping.
For multi-platform social campaigns: generate the hero at 1:1 for the Instagram feed, then ask the model to adapt it to 9:16 for Stories and 16:9 for LinkedIn — all in the same conversation. This preserves compositional intent better than cropping.
Technique 13: Counteract the photorealism default
If you want illustration, cartoon, or stylized output, you must specify it explicitly. GPT-Image-2 leans toward photorealism more than its predecessors did.
Add explicit style anchors:
"Flat vector illustration with clean lines and limited color palette""Watercolor painting with visible brush strokes and paper texture""Pixel art in 16-bit retro game style, 64×64 pixel grid""Japanese manga panel with screen tones and speed lines"
Without these anchors, the model defaults to "realistic but slightly too polished" — the aesthetic the community calls "high-end retirement home brochure".
Technique 14: Multi-image prompts for storyboards
A single call can return up to 8 style-consistent images. Structure the prompt as a narrative:
"Generate an 8-panel sequence showing: (1) A woman opening her front door to find a package. (2) Close-up of her hands opening the box. (3) She lifts out a pair of red headphones. (4) She puts them on. (5) Close-up of her face smiling with eyes closed, listening to music. (6) She dances in her living room. (7) She takes a selfie wearing the headphones. (8) Wide shot of her relaxed on the couch, still wearing them. Consistent character throughout — East Asian woman, late 20s, bob haircut, wearing a white t-shirt and jeans."
The numbered structure helps the model maintain narrative flow and character consistency across all eight frames. More high-quality prompt examples in the awesome-gpt-image collection.
Take what you've learned and put it to work in Pixo. Multi-frame storyboard output is exactly the kind of thing that pays off on an AI Video Agent platform like Pixo — feed in a script, the agent breaks it into frame-by-frame storyboards, and each frame can be generated with a different image model (GPT-Image-2, Nano Banana, Seedream, and more) directly in the platform. Need it as video? The same storyboard hands off to video models like Seedance 2 to animate every frame, then you preview the assembled cuts on a timeline. GPT-Image-2 for storyboard frames, Seedance 2 for animation — try the combo free in Pixo (free credits, no credit card required).
Technique 15: Use a test prompt as a temperature check
Before spending generation budget on a complex project, run a quick test prompt that exercises the specific capability you need:
- Text test:
A white card on a gray background with the text "The quick brown fox jumps over the lazy dog — 2026" in 12pt serif font. - Style test:
A single red apple on a wooden table, [your target style]. - Layout test:
A simple 2×2 grid with four colored squares: red top-left, blue top-right, green bottom-left, yellow bottom-right.
If the test prompt works, your complex prompt will work. If the test fails, adjust your approach before wasting 20 generations.
The 3 Mistakes That Tank Your Output Quality
Mistake 1: Over-prompting
More detail does not equal better output. A 200-word, structured prompt beats an 800-word, comprehensive one. The model's reasoning engine fills in sensible defaults — let it.
Mistake 2: Fighting the model's strengths
GPT-Image-2 is excellent at text-dense, structured, production-quality output. It is not the best at dreamy, atmospheric, artistic imagery. If you've spent hours trying to get Midjourney-quality concept art out of it, switch tools. The full cross-model comparison is in this article.
Mistake 3: Continuing to iterate instead of restarting
When the third edit hasn't fixed the problem, the fourth won't either. Close the conversation, revise the prompt based on what you learned, and start fresh. The result of a restart will outperform continued iteration in quality.
Hands-on companion: Want to see these techniques applied to real marketing work? The 7-scenario field test collects prompt templates for text posters, ad variants, infographics, and other common marketing scenarios.
FAQ
Q: Do I need ChatGPT Plus for good results? Yes. The free tier only offers Instant Mode at 2–3 images per day. Thinking Mode delivers significantly better text accuracy and complex composition handling, and requires Plus ($20/month) or higher.
Q: How does prompt writing differ from Midjourney? Midjourney prefers stacked descriptors and aesthetic keywords. GPT-Image-2 prefers structured natural language. Write sentences, not keyword lists.
Q: Can I reuse my DALL-E 3 prompts directly? Syntactically yes, but you won't get optimal results. GPT-Image-2 interprets more literally and defaults to photorealism. You'll need to add style anchors and the anti-text directive.
Q: What's the right quality setting? For anything with text, fine detail, or professional use: use "high". "Standard" saves money but causes blurry small text and detail loss in complex scenes.
Q: How do I keep characters consistent across sessions? Upload one character reference image and describe the character in detail in every prompt. Within a single session, the model keeps consistency naturally. Across sessions, the reference image is essential.
Sources:
- GPT Image Generation Models Prompting Guide — OpenAI Cookbook
- GPT Image 2 Prompting Guide and Examples — fal.ai
- GPT Image 2 Prompting Guide — PixelDojo
- 100 ChatGPT Image 2 Prompts That Actually Work — NoviAI
- awesome-gpt-image: Curated GPT Image 2 Prompts — GitHub
- The Ultimate GPT Image 2 Prompting Guide — Atlabs AI
- Introducing ChatGPT Images 2.0 — OpenAI Official Blog
Ready to Revolutionize your workflow?
Join thousands of creators using Pixo to turn their stories into visual reality.
Sign Up NowNo credit card required • Free 200 credits


