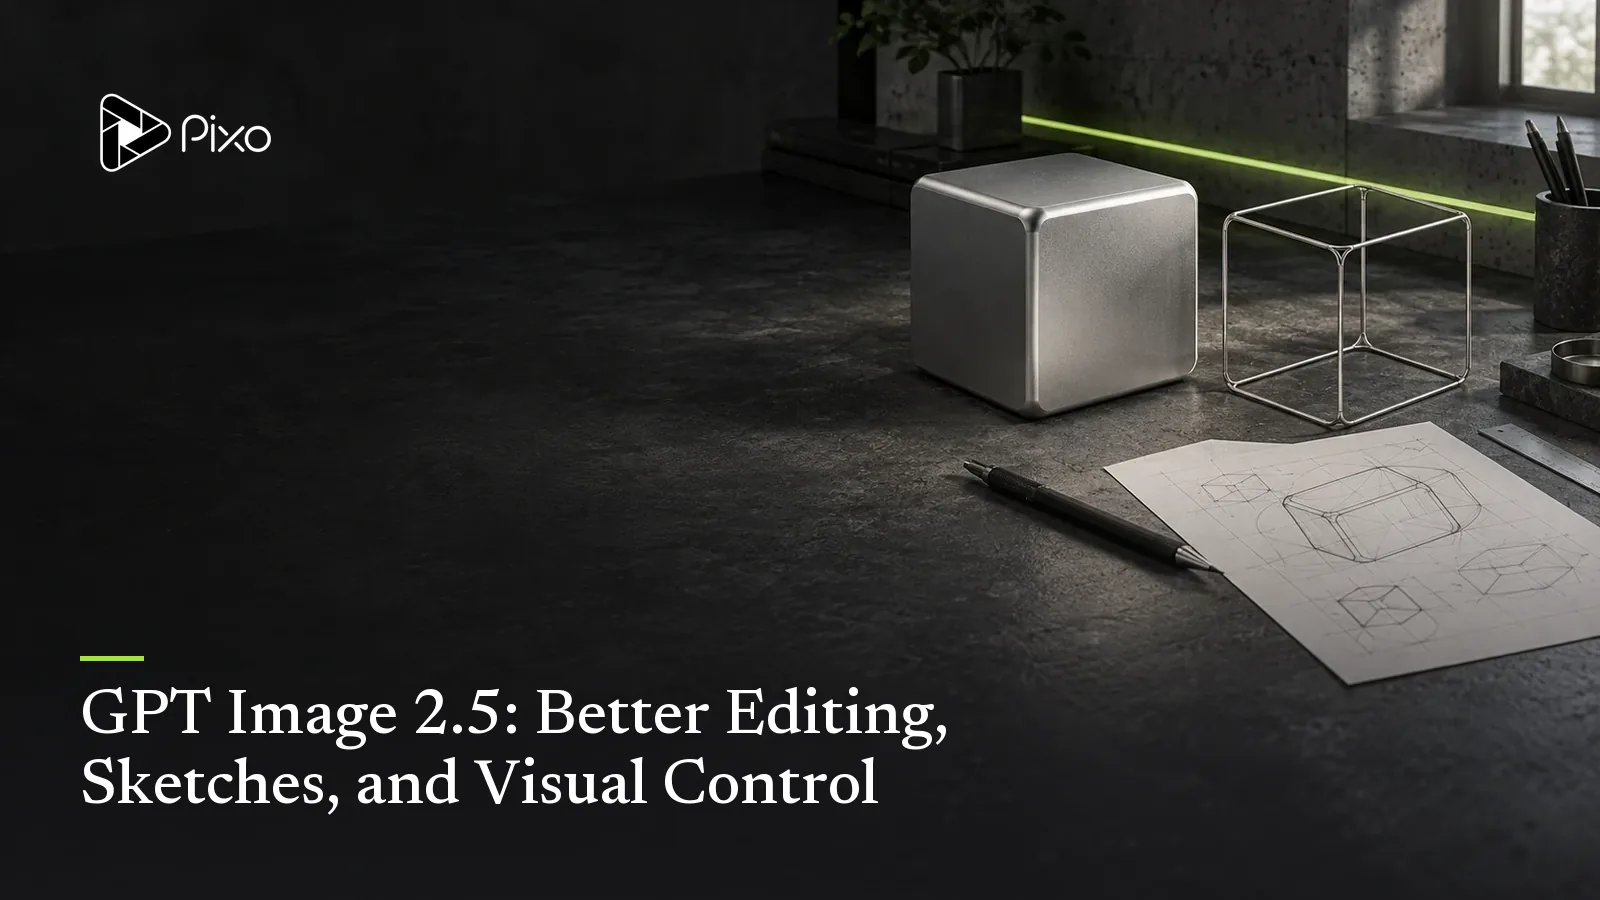
GPT Image 2.5: Better Editing, Sketches, and Visual Control
Explore GPT Image 2.5 with visual examples: precise edits, character consistency, Sketch, Flare vs Sunburst, and practical prompts for creators.

A character looks right. The lighting works. Then you ask for one small change, and the face changes with it.
That is the creative problem GPT Image 2.5 is trying to solve. Released on September 8, 2026, the update puts more emphasis on keeping an image intact while you refine it. Alongside the model, new ChatGPT image tools let you sketch a composition, annotate a specific area, or start from a template.
For creators, the interesting question is what this changes in everyday work: character reference sheets, product visuals, poster layouts, and the frames that eventually become a video.
This guide examines illustrated examples and turns them into a practical workflow. The examples are demonstrations, not a controlled Pixo benchmark; the prompts below are new suggestions you can adapt.
What is new in GPT Image 2.5?
The release combines improvements to the image model with new ways to direct it. Keep those two layers separate: access to the model does not mean every interface offers the same drawing or editing controls.
| Change | Why it matters for creators | What to check |
|---|---|---|
| More focused image editing | Change clothing, a background, or one detail while preserving the surrounding image | Inspect areas you did not ask to change |
| Better consistency across edits | Refine an approved concept over several rounds | Compare each revision with your approved reference |
| Faster generation | Explore more options with less waiting | Actual speed depends on the model and settings |
| Sketch in ChatGPT | Communicate shape and placement visually | Add text for material, lighting, and style |
| Image templates | Start with a recognizable format such as a poster or product image | Replace generic choices with your own brief |
| Comments placed on images | Point to the exact area that needs attention | Describe a single, concrete change |
OpenAI reports up to 50% lower generation latency compared with Images 2.0. That is a latency claim, not a promise that an entire creative project will take half the time.
GPT Image 2.5 Flare vs Sunburst
The API introduces two variants with different priorities.
| Model | Positioning | A practical starting point |
|---|---|---|
| GPT-Image-2.5 Flare | Fast generation and everyday editing | Explore compositions, social assets, and concept variations |
| GPT-Image-2.5 Sunburst | Greater precision with longer generation times | Evaluate demanding edits and final campaign visuals |
Choose according to the job. An early composition study benefits from quick feedback. A final product visual may justify a slower pass if it preserves details more accurately. Test both on the same brief before building a production workflow around either one.
To budget those iterations, see our AI image generation pricing comparison. It converts official API rates into cost per image at stated resolutions and quality settings, with input charges explained separately.
1. Draw the composition with Sketch
Some instructions are easier to draw than describe. A rectangle communicates placement. A curved outline communicates a silhouette. A few marks can establish the relationship between the subject and the empty space around it.

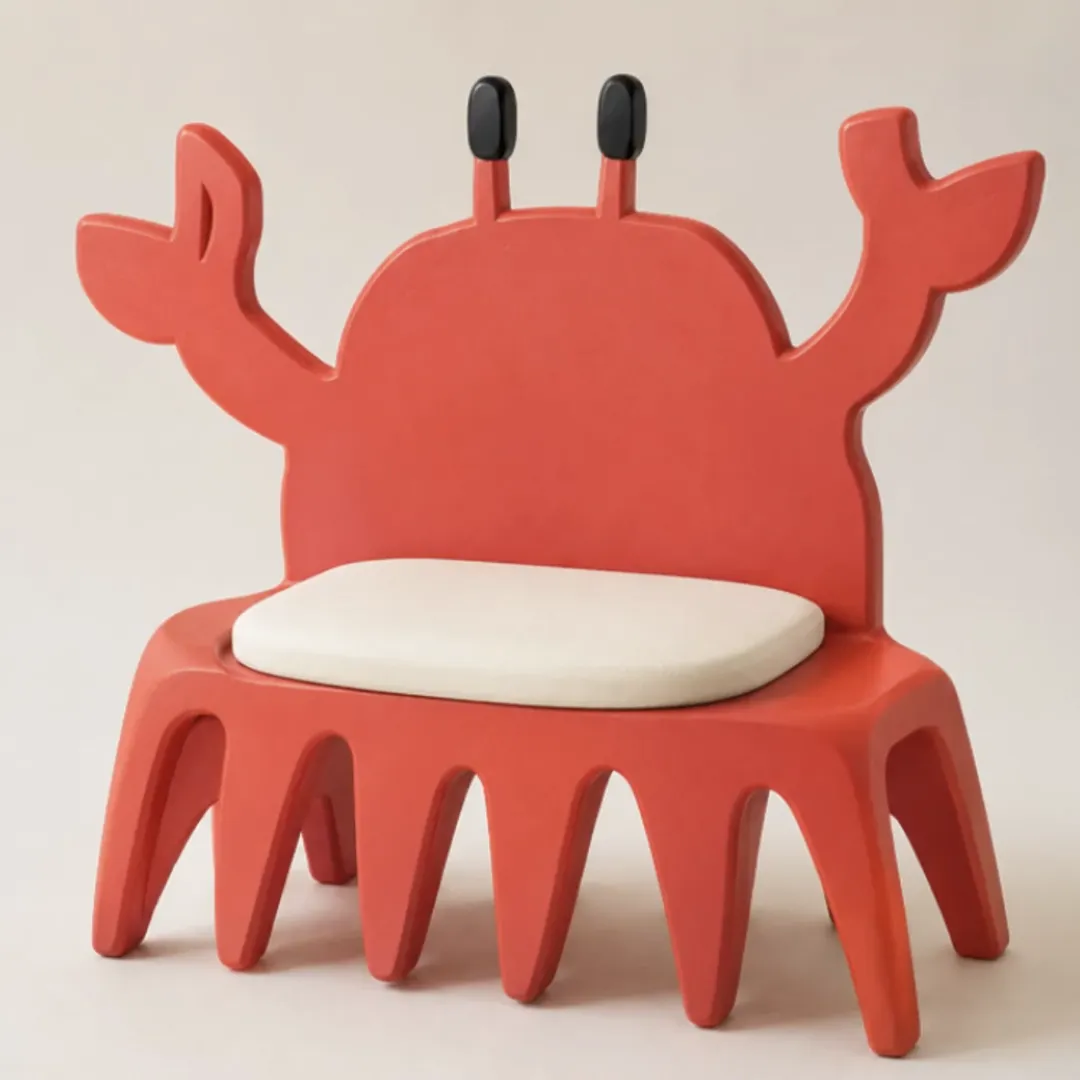
From a simple drawing to an object concept: the silhouette supplies the structure, while the generated image adds materials and depth.
A useful sketch does not need realistic shading. It needs to show the decisions that matter. If a product belongs in the lower-right corner, put it there. If the top half of a poster must stay clear for a headline, leave that area empty and say why.
In ChatGPT, Sketch is introduced through @Sketch. The screenshots below illustrate a simple block drawing and the resulting interpretation.
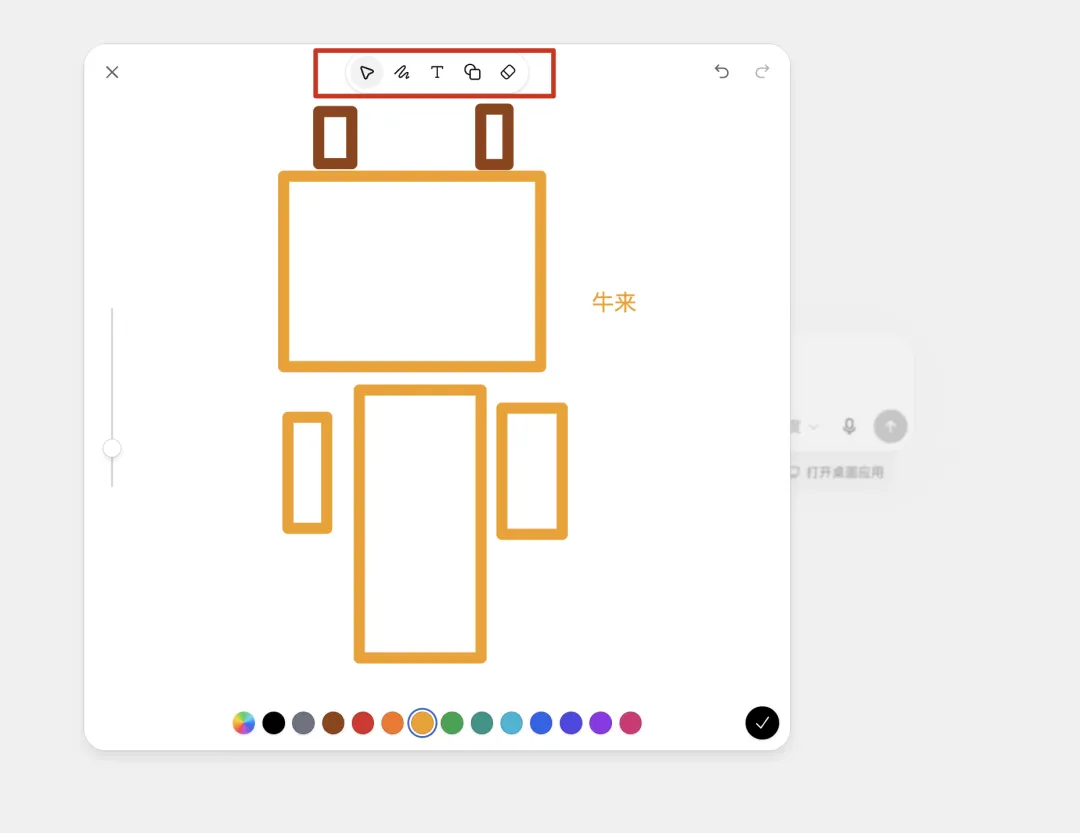
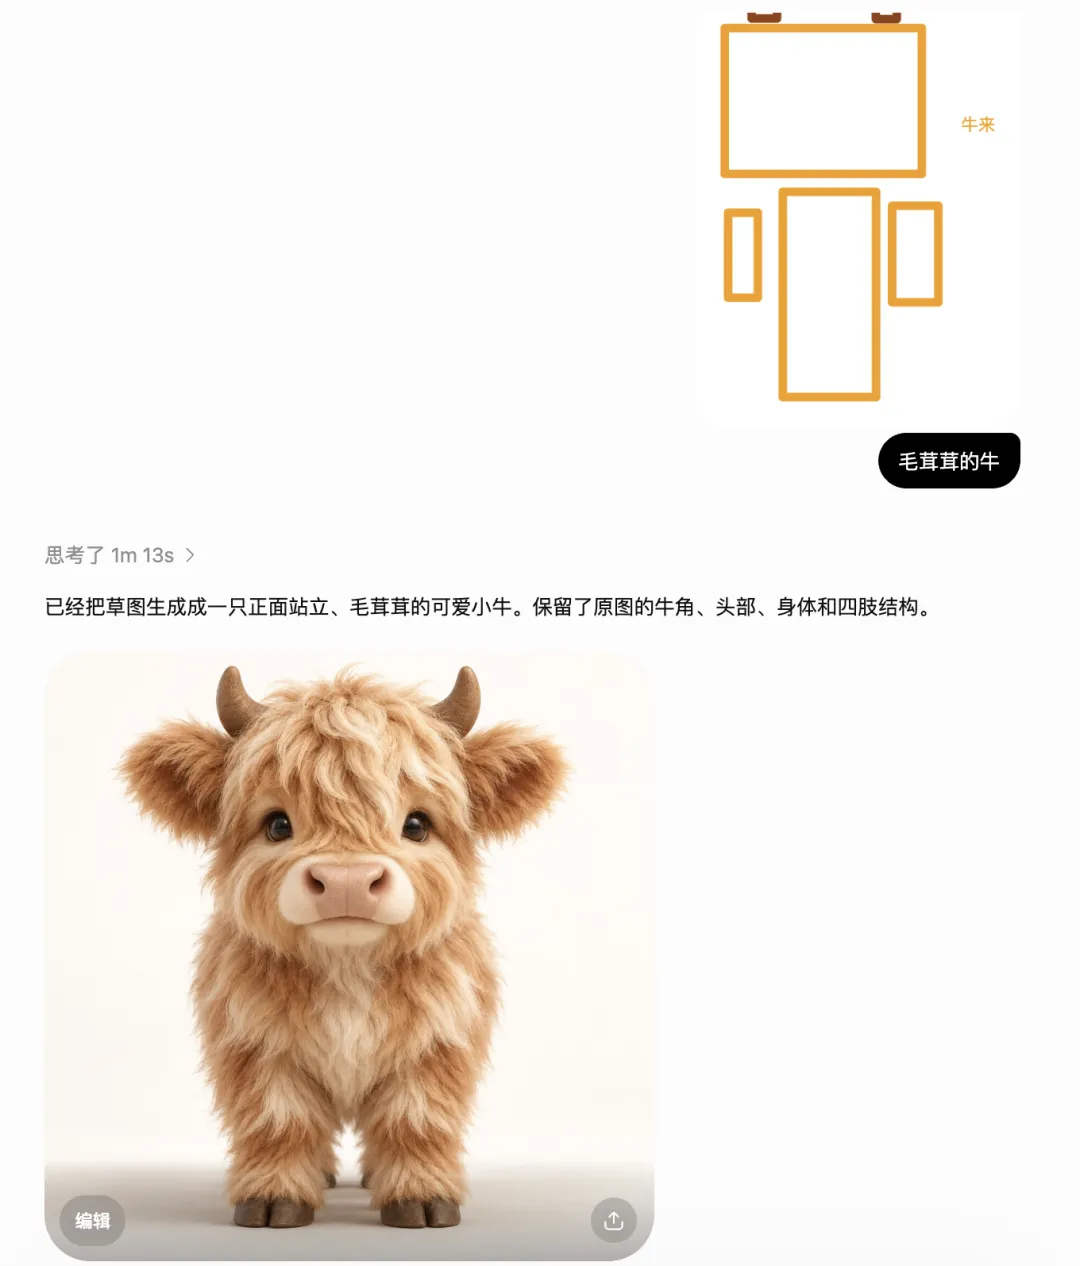
Try this prompt with your own drawing:
Use the attached sketch as the composition guide. Turn the central shape into a small ceramic desk lamp. Preserve its position and overall silhouette. Use matte ivory ceramic, soft window light, and a warm gray background. Treat handwritten notes as instructions; do not print them in the image.The last sentence resolves an ambiguity: labels on a sketch might describe the result rather than belong inside it.
2. Make one edit without rebuilding the image
For a finished asset, preserving what already works is as valuable as improving the requested detail.
The comparison below shows successive clothing and background edits. Watch the face, proportions, and framing across the sequence, especially while other parts of the image change.
GPT Image 2 (left) vs GPT Image 2.5 (right): successive clothing and background edits
Left: GPT Image 2. Right: GPT Image 2.5. This is a sequence of edited images presented as a video.
Build an edit request around three things: the area to change, the desired replacement, and the details to preserve.
Change only the jacket to dark olive canvas. Keep the person's face, hairstyle, pose, trousers, background, and camera framing unchanged. Preserve the existing direction of light.When annotation controls are available, place the comment on the jacket. This gives the edit a visual target and reduces the need for a long description of its location.
Afterward, inspect the face and hands as well as the jacket. A plausible result can still contain an unwanted change.
3. Keep a useful reference through multiple revisions
The rotating blue-cube demonstration makes drift easy to see. Its simple shape gives you clear edges, surfaces, and proportions to track.
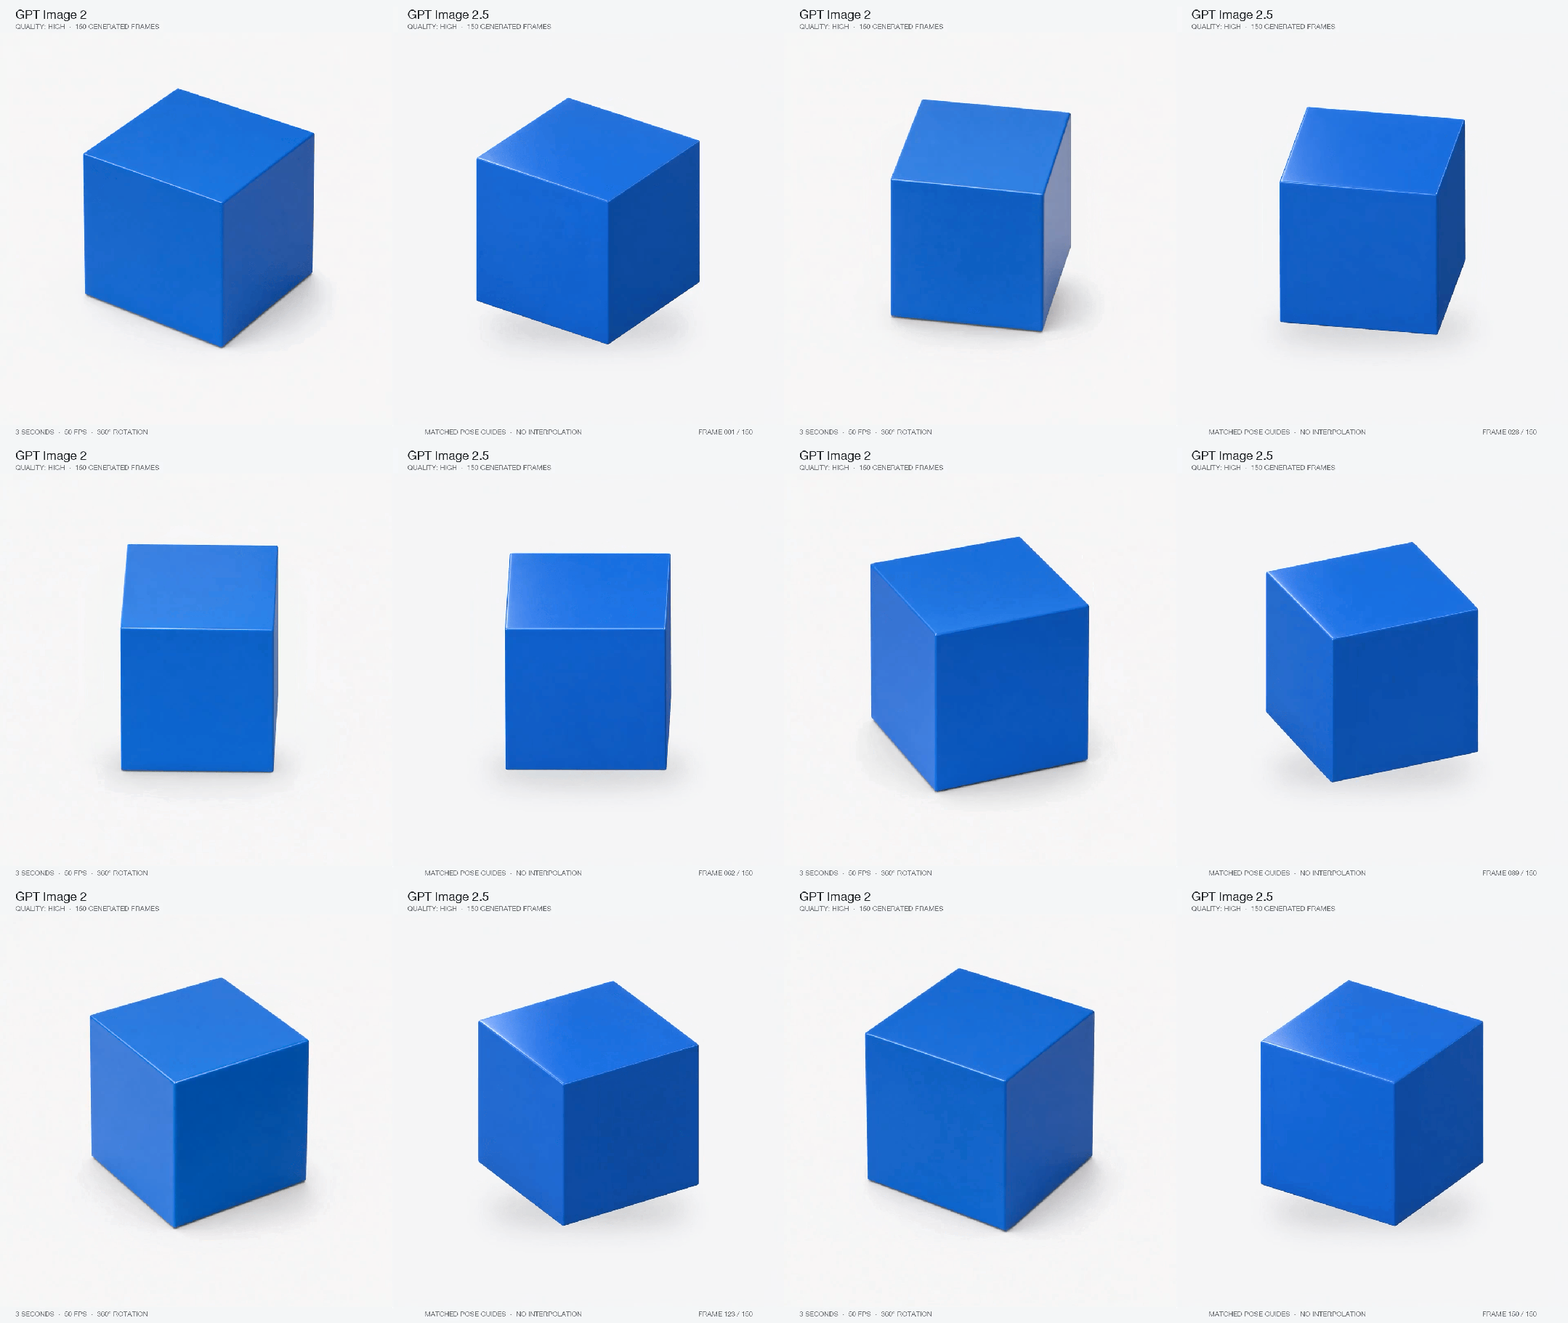
Simple geometry exposes changes that may be harder to notice in a busy scene.
For a real project, save an approved reference before you begin revising. After several changes, compare the latest image with that reference rather than relying on your memory of the previous result.
A productive sequence might be: establish the composition, refine the light, adjust the clothing, then correct a small facial detail. If a revision breaks an approved element, return to the last good version with a narrower instruction.
Better consistency makes this workflow more useful. It does not remove the need to review it.
Create AI videos with Pixo
Turn any idea into a publish-worthy video. One sentence is all it takes.
4. Build character reference sheets for AI video
A character reference sheet brings several views into one place: full-body proportions, facial close-ups, a profile, clothing, and distinguishing details.
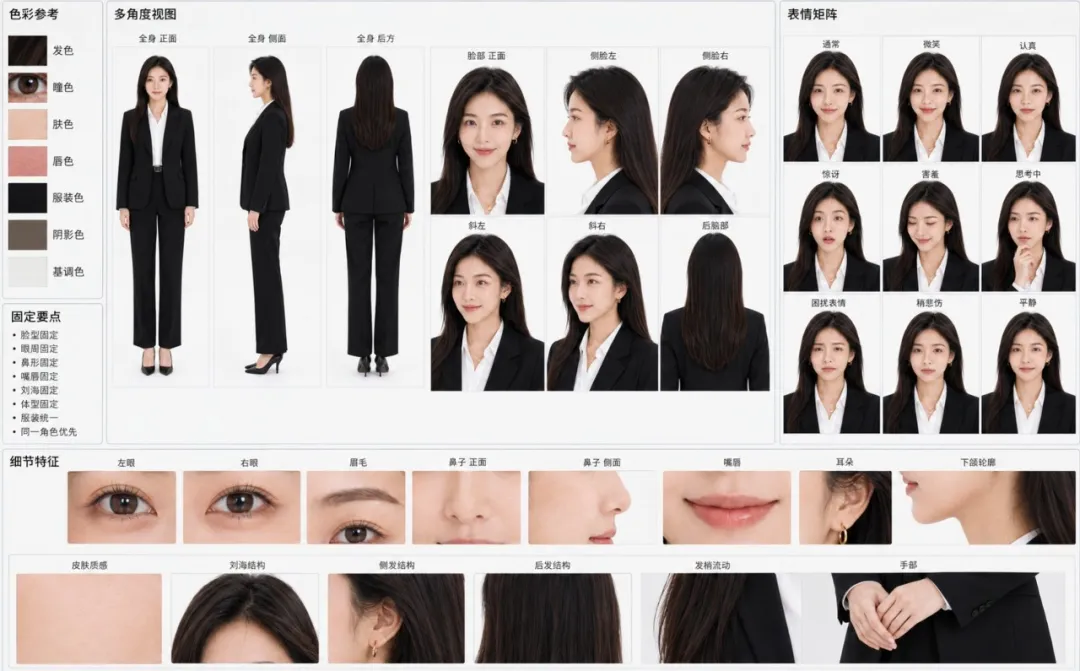
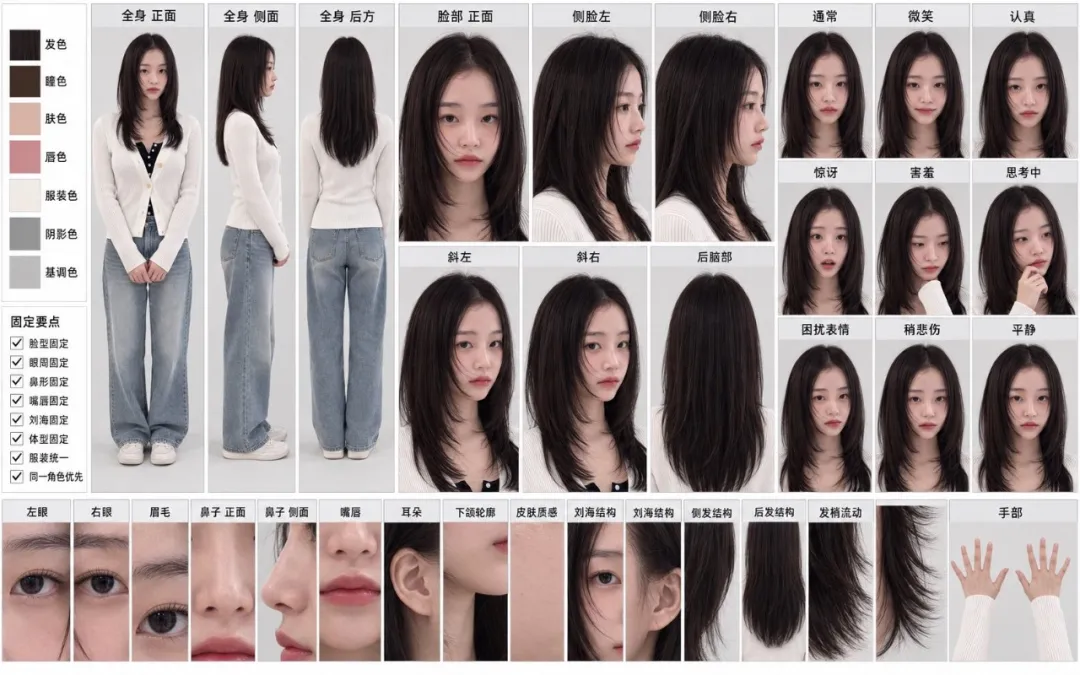
GPT Image 2 on the left; GPT Image 2.5 on the right. Compare the same features across views, rather than judging only the sharpest portrait.
For video preparation, check whether the person stays recognizable from the front and side. Look for consistent hair length, garment construction, jewelry, and facial marks. A polished sheet with contradictory views can give the next generation step conflicting instructions.
Start with a compact brief:
Create a character reference sheet for a short film. Show the same adult woman in front, three-quarter, and profile views, plus one full-body view. Shoulder-length black hair, a charcoal jacket, and a small mole below her right eye. Use neutral lighting and a plain light-gray background. Keep facial proportions and clothing consistent across every view. No decorative text.If one detail is wrong, correct that detail before expanding the sheet. Our character consistency guide covers the broader reference workflow.
5. From a logo concept to merchandise
The cat-logo example moves from a graphic concept into objects such as a shirt, tote bag, and mug. Compare whether the illustration keeps its recognizable contours at each scale.
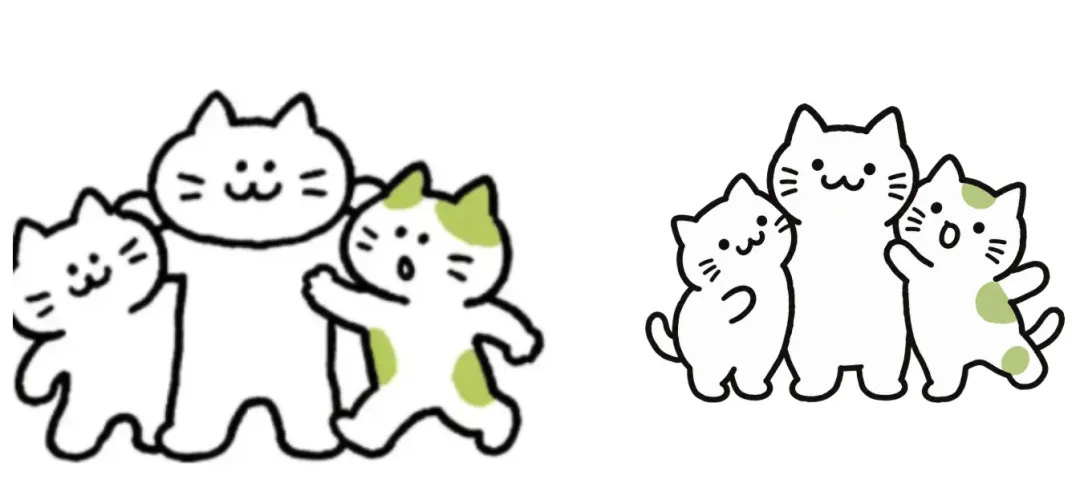
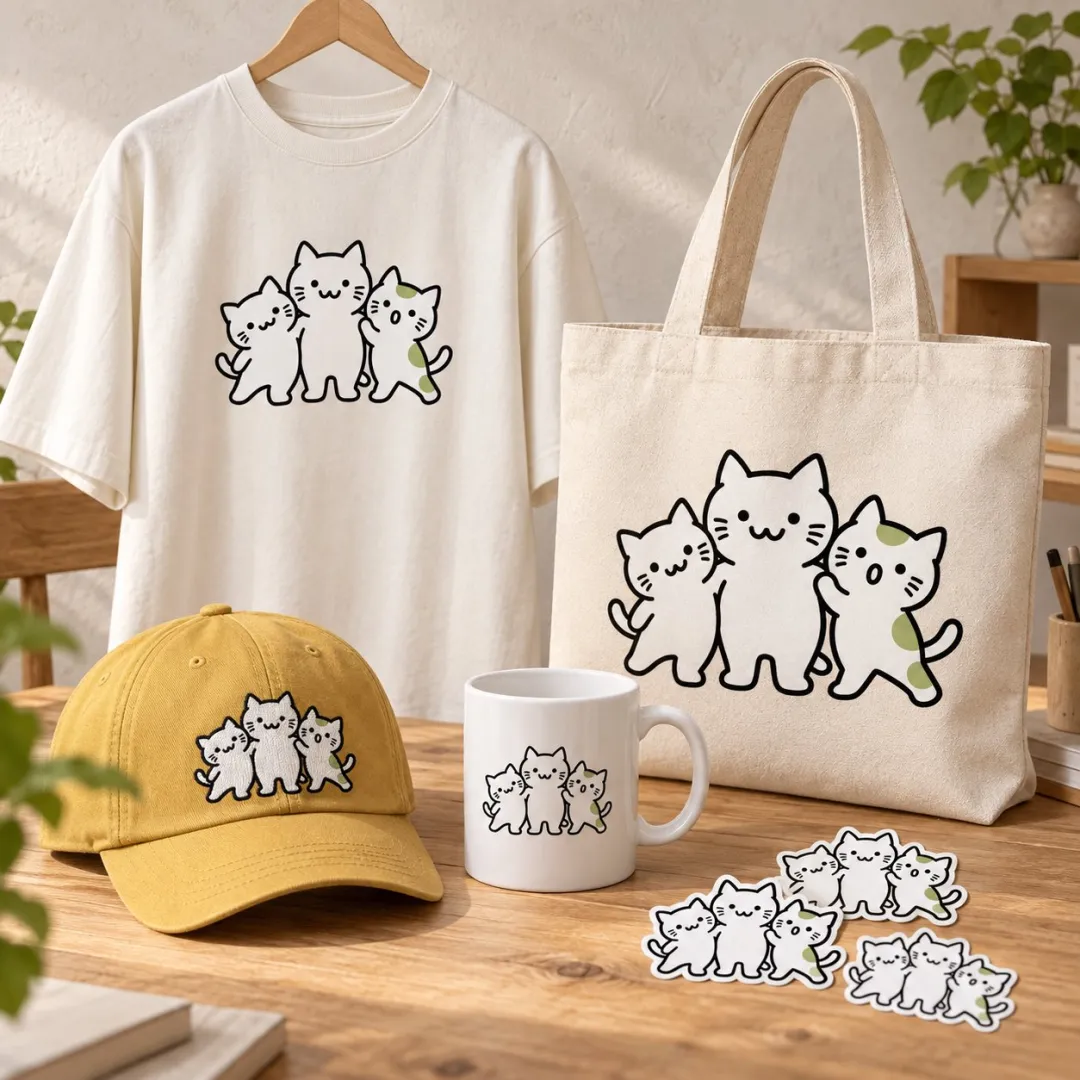
Treat these images as concept mockups. Before manufacturing or printing, check the actual artwork, dimensions, spelling, and color requirements separately.
6. Use still images to explore stop-motion animation
A small crocodile riding a bicycle is a useful continuity challenge. The bicycle should keep the same geometry while the legs, pedals, and wheels move.
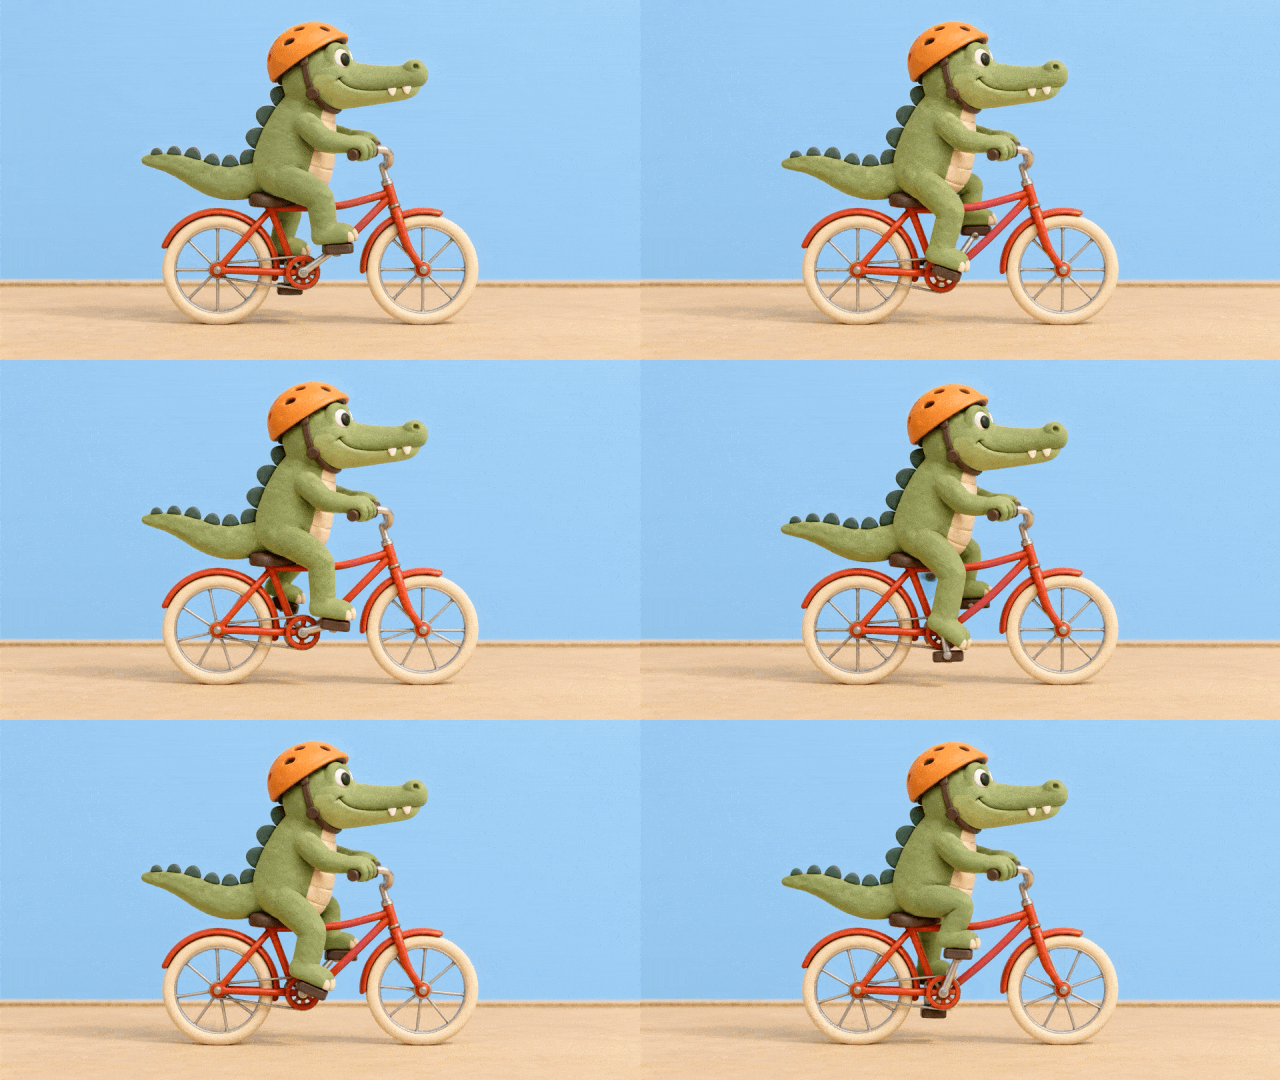
GPT Image 2.5 is an image model. An animation workflow requires assembling stills or using a separate video tool.
For a short stop-motion experiment, first approve one frame. Then define the movement cycle, generate a small sequence, and inspect it for flicker and shape changes before expanding it. A playback rate of 12 frames per second is one creative option, not a model requirement.
Create the next frame of this clay-style bicycle sequence. Preserve the crocodile's design, orange helmet, red bicycle, blue background, lighting, and camera position. Advance the pedal position slightly and adjust the legs to match. Keep the wheel centers and frame geometry fixed.7. Compare style separately from detail
A newer model can produce a cleaner image without producing the aesthetic you prefer. Architecture and stylization examples make that distinction visible.
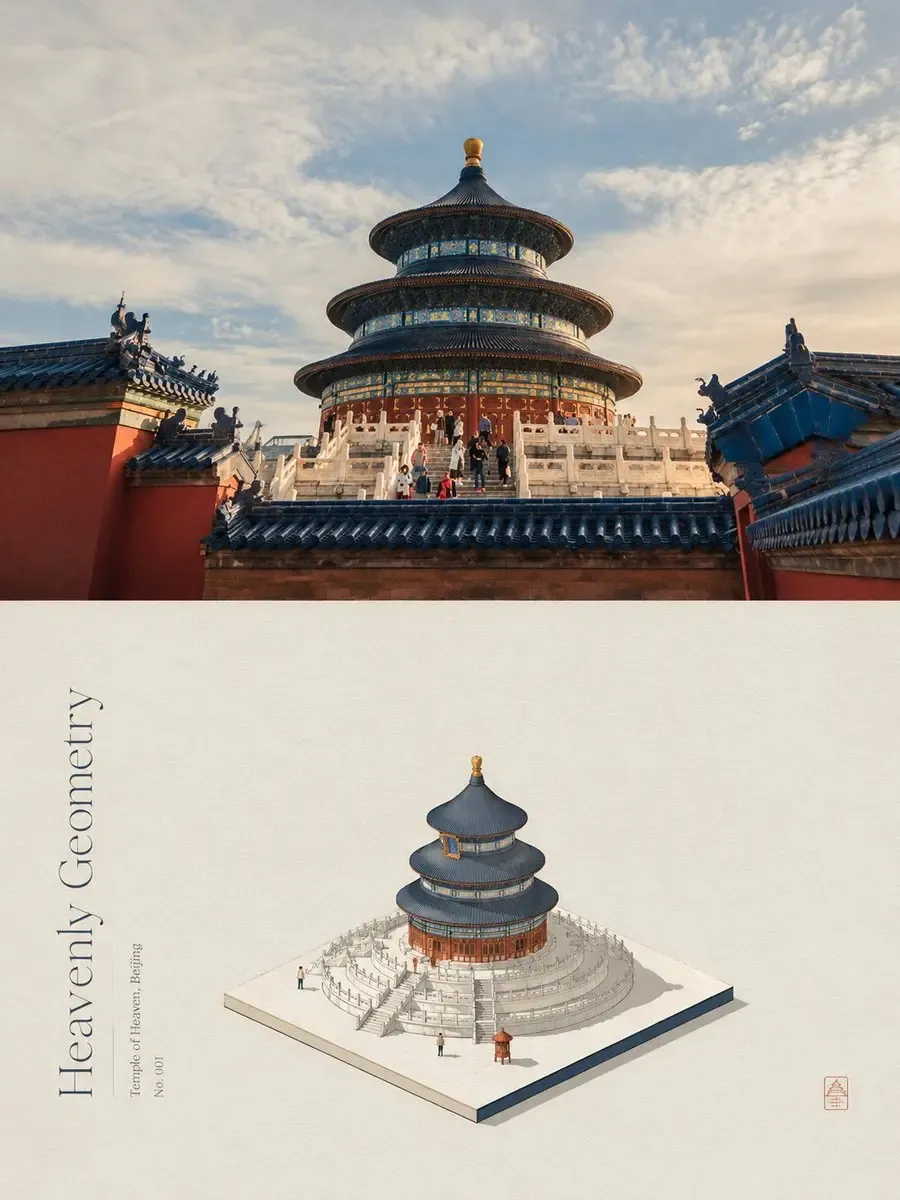
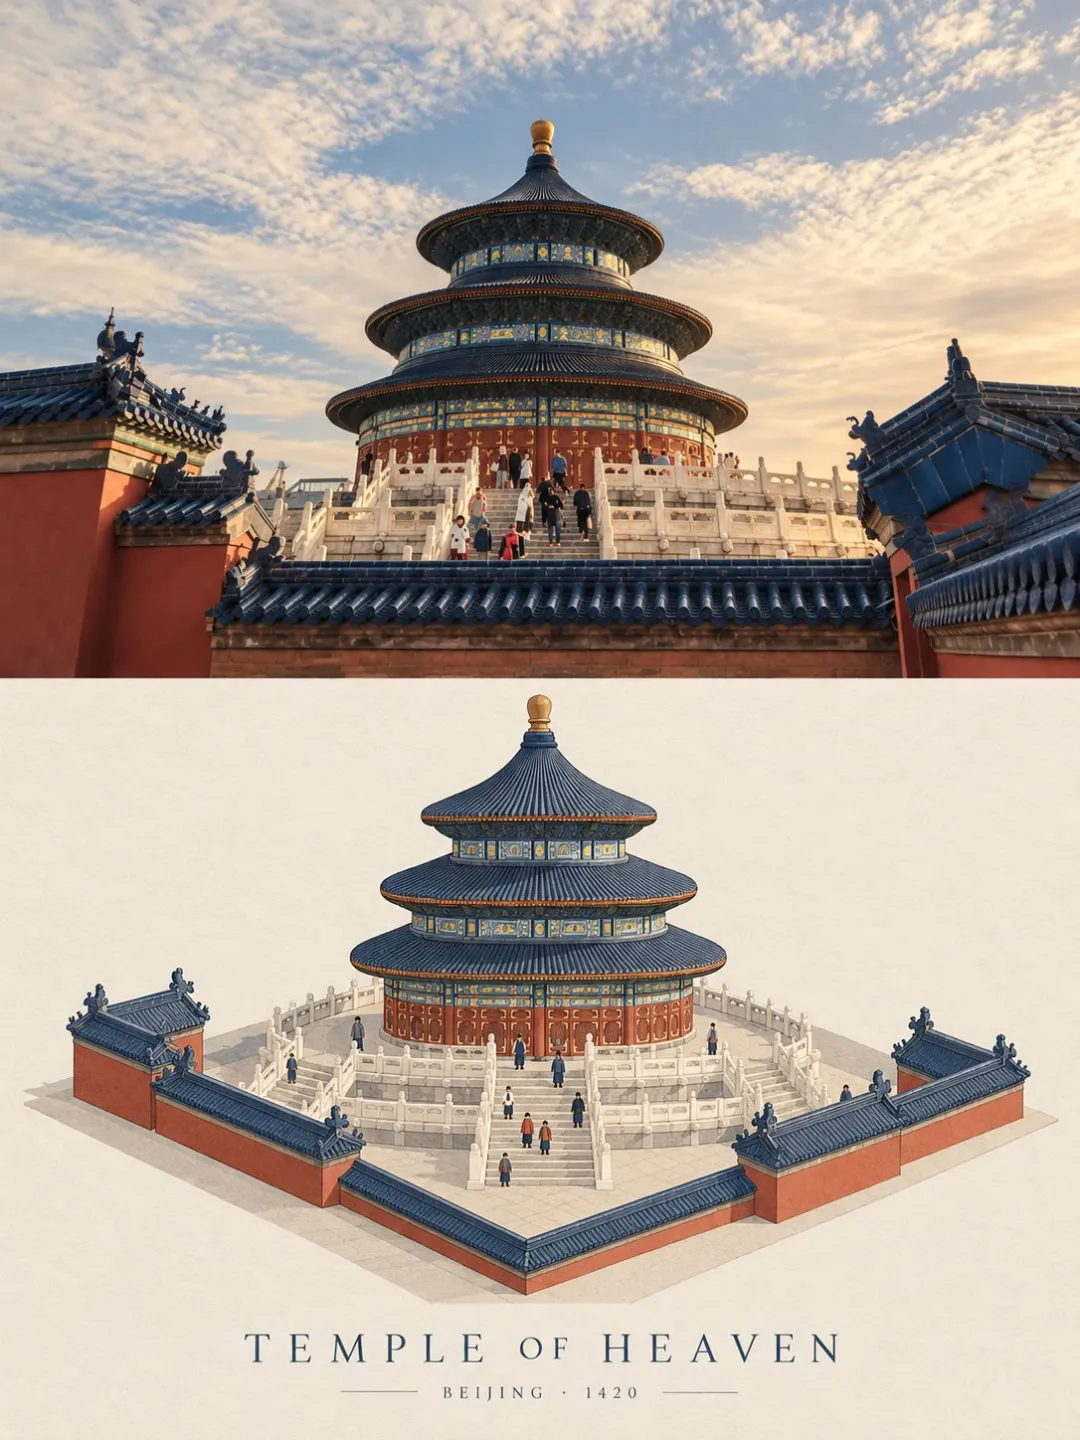
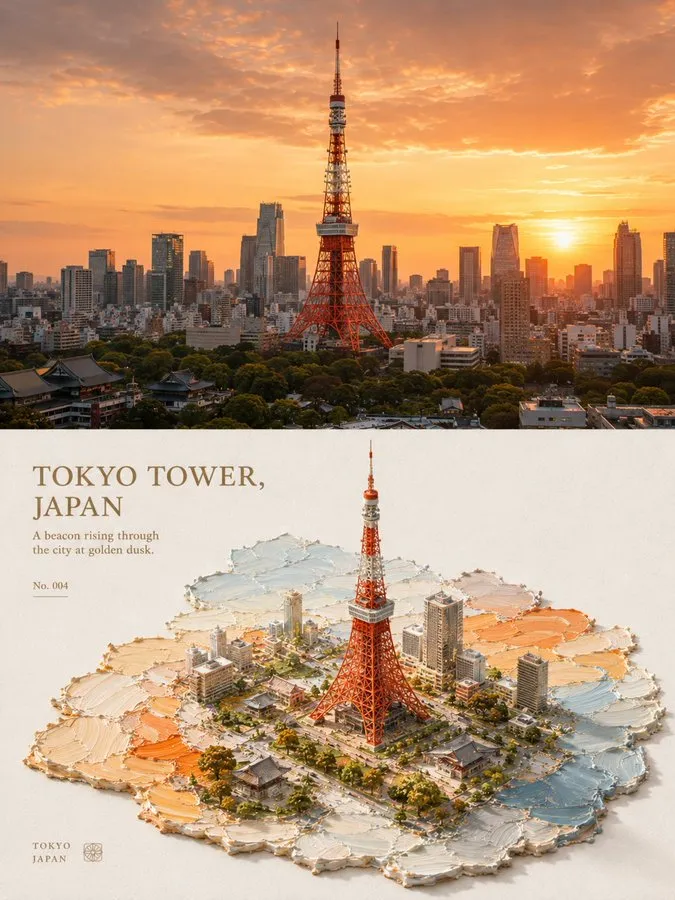
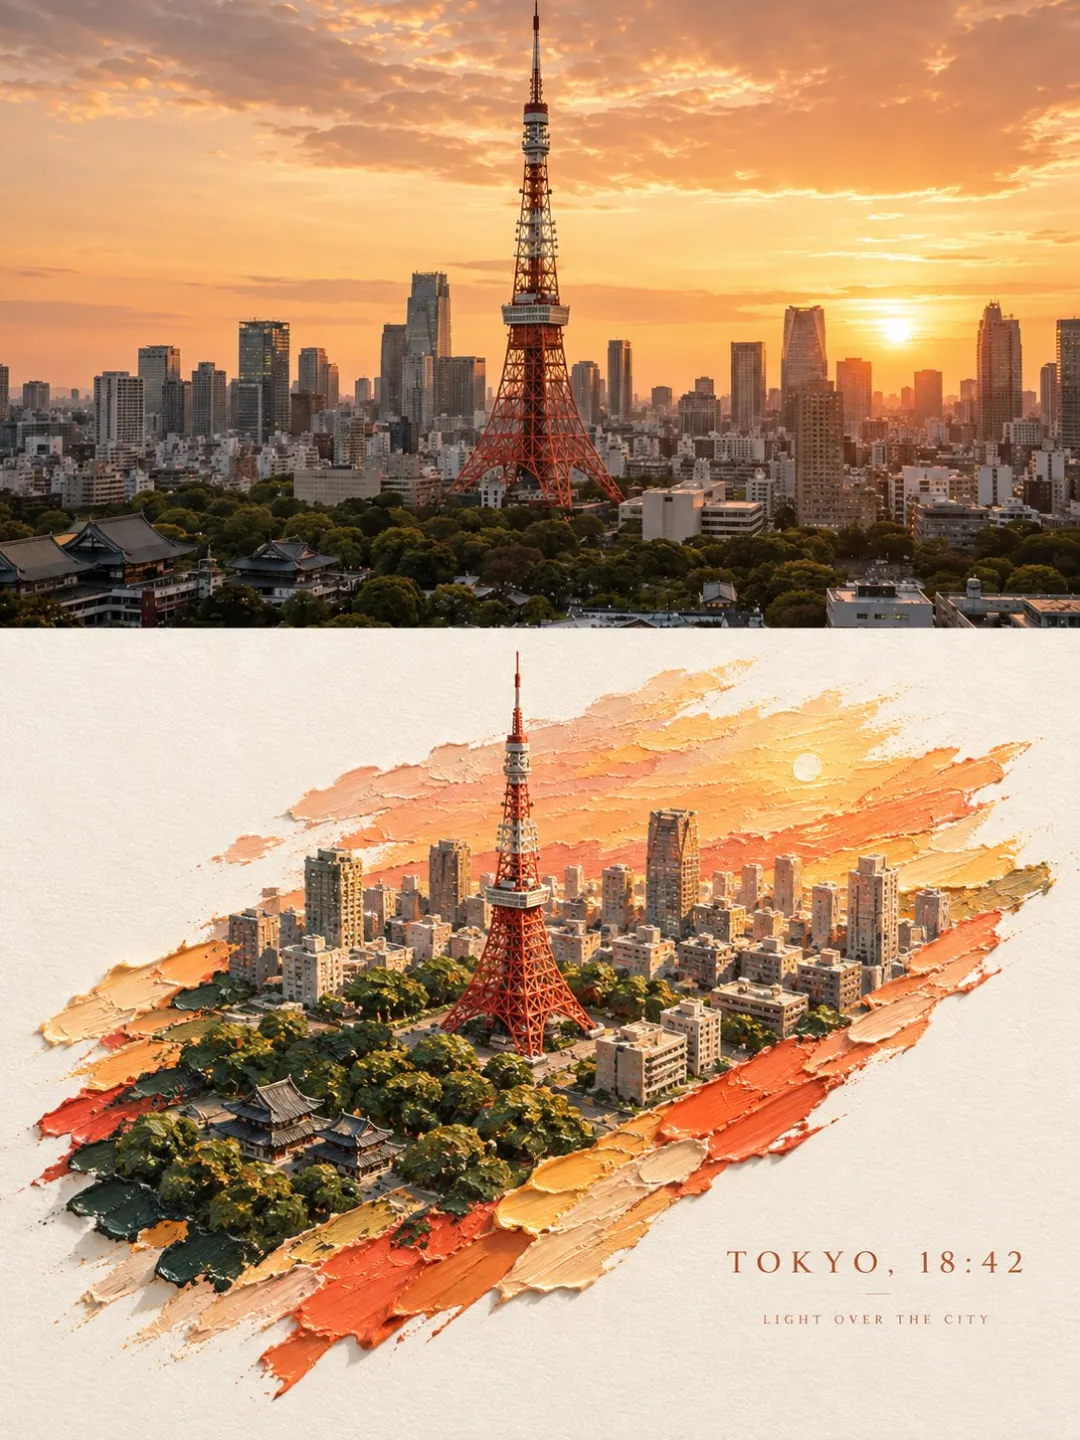
Each pair places GPT Image 2 first and GPT Image 2.5 second. Consider composition, landmark structure, and the treatment of the miniature scene.
For style work, define what you mean by the reference: angular shadows, a limited palette, paper texture, or a particular balance of realism and abstraction. “More cinematic” leaves those decisions open.
If an unwanted repeating texture appears in the result, the fish-scale artifact guide separates that failure from an intentional surface style.
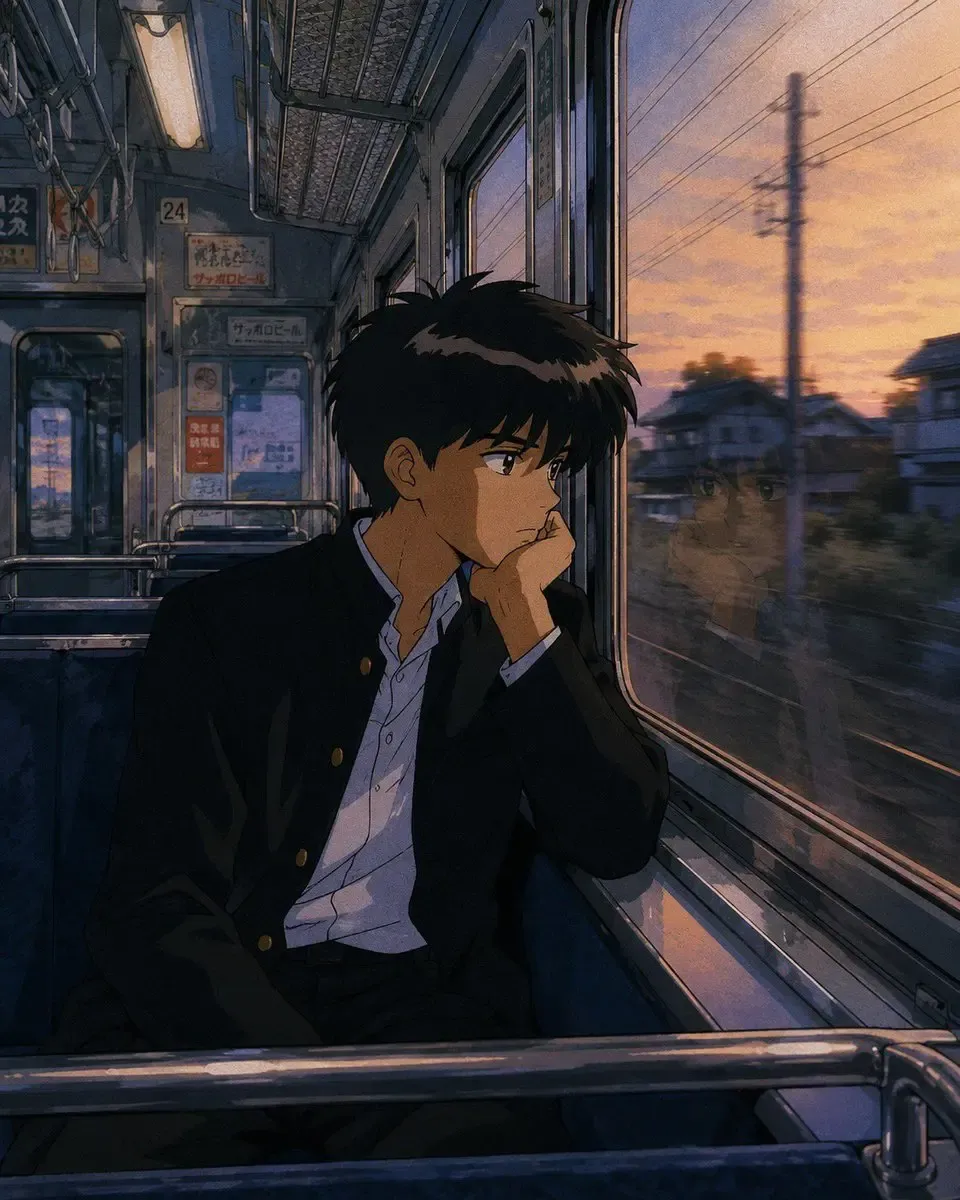
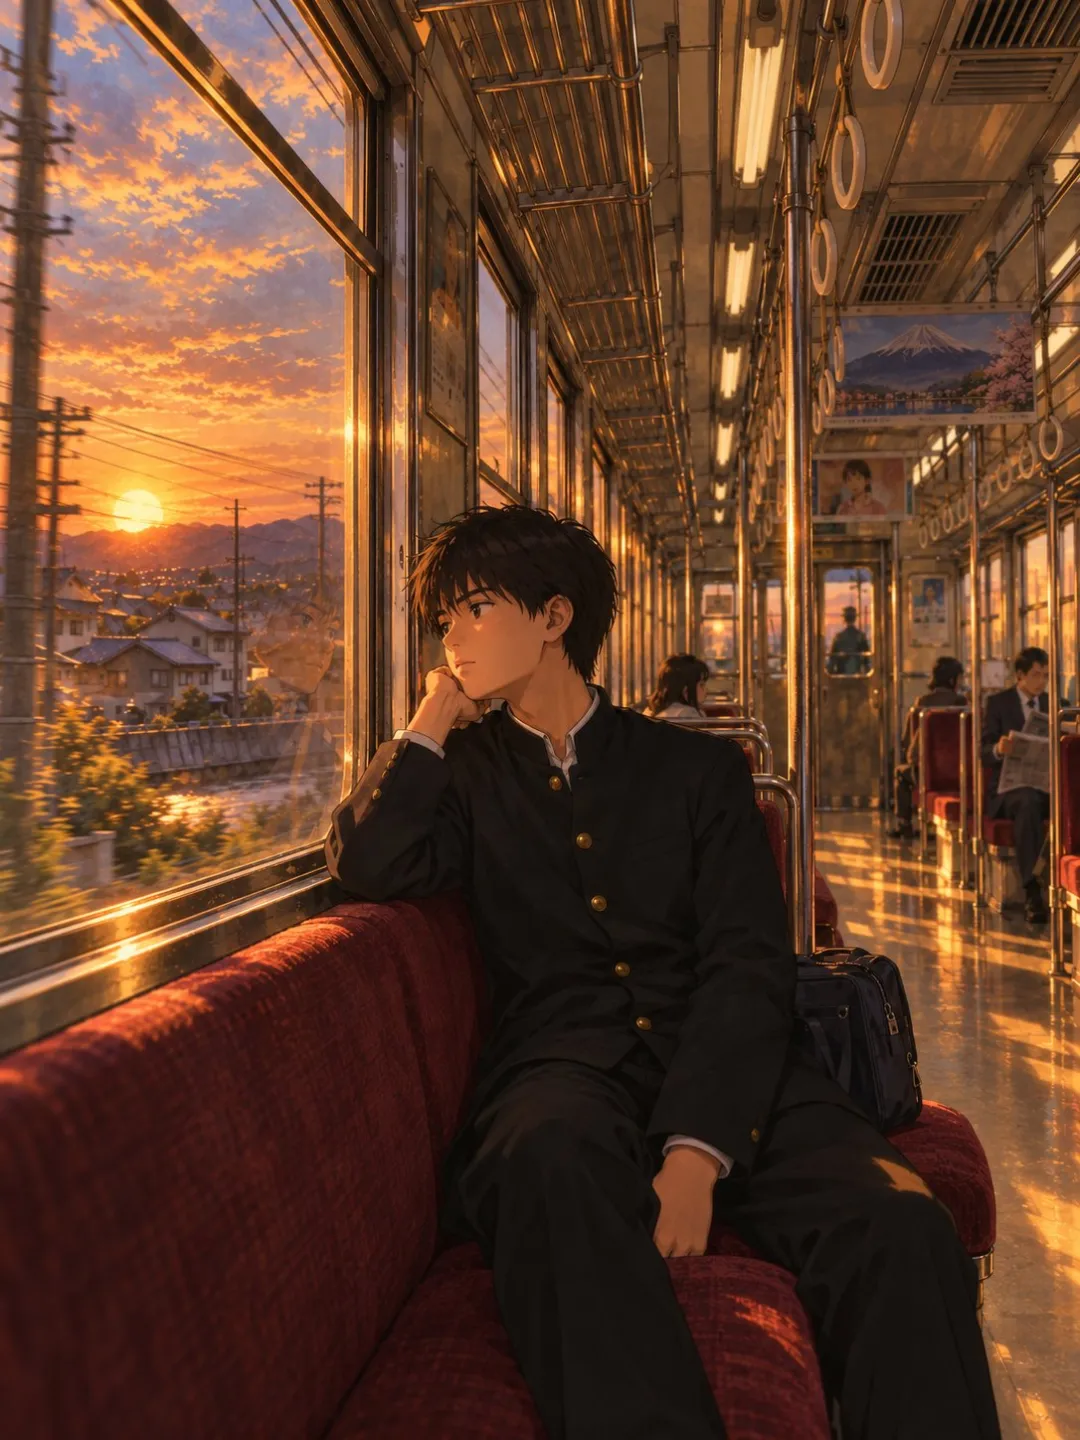
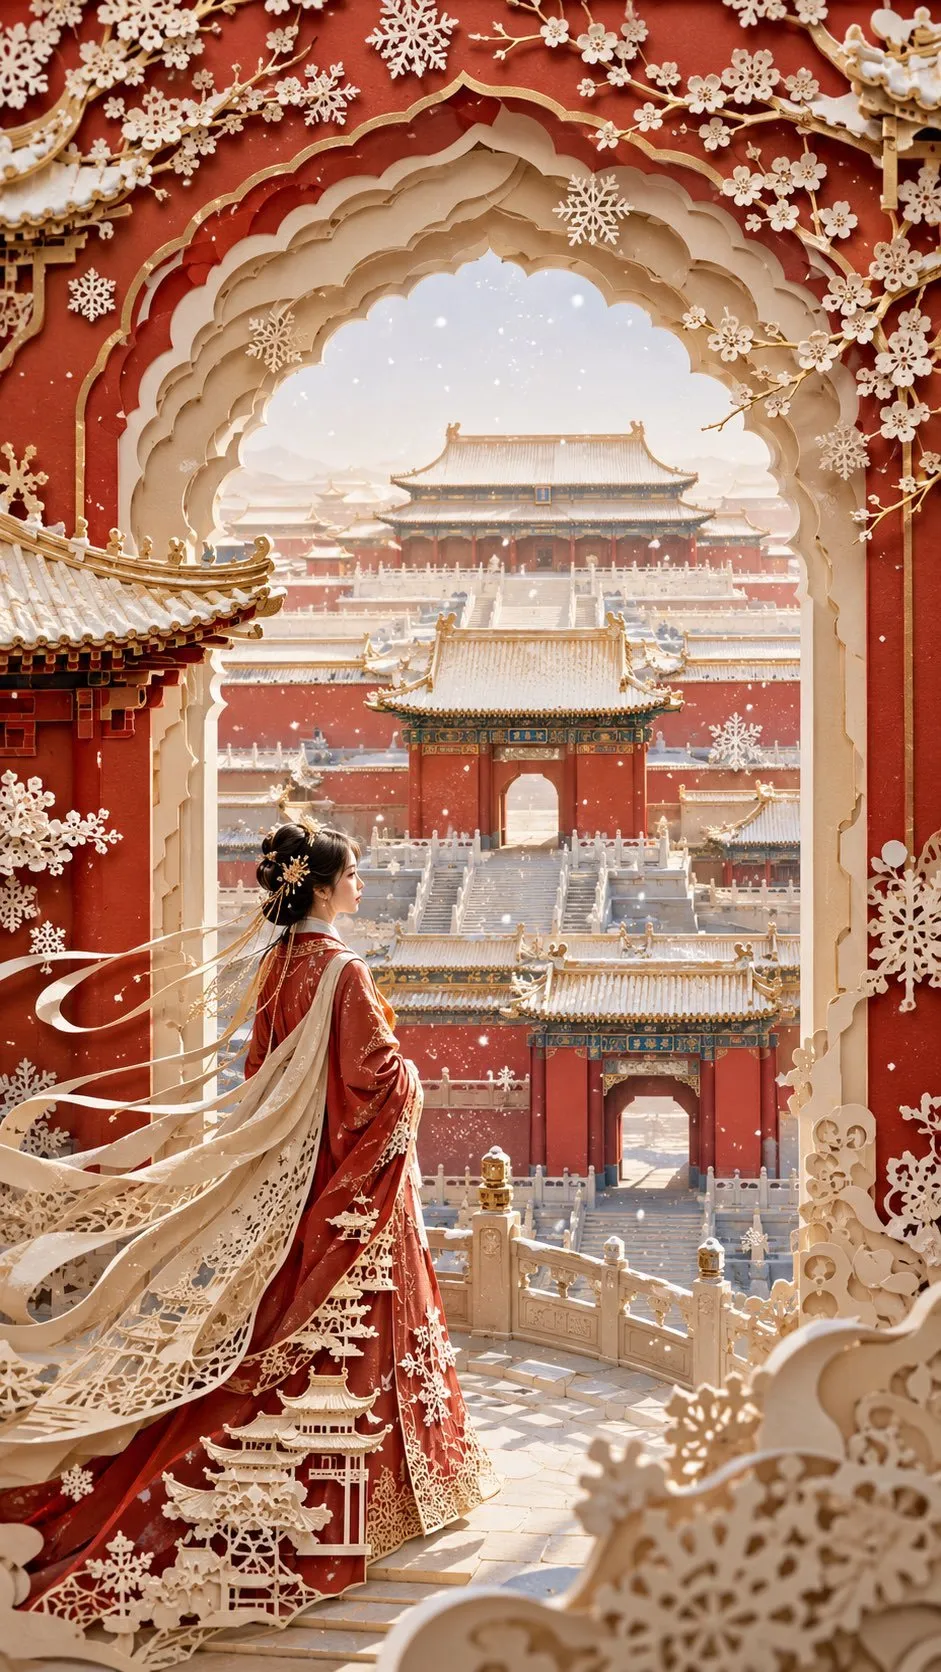
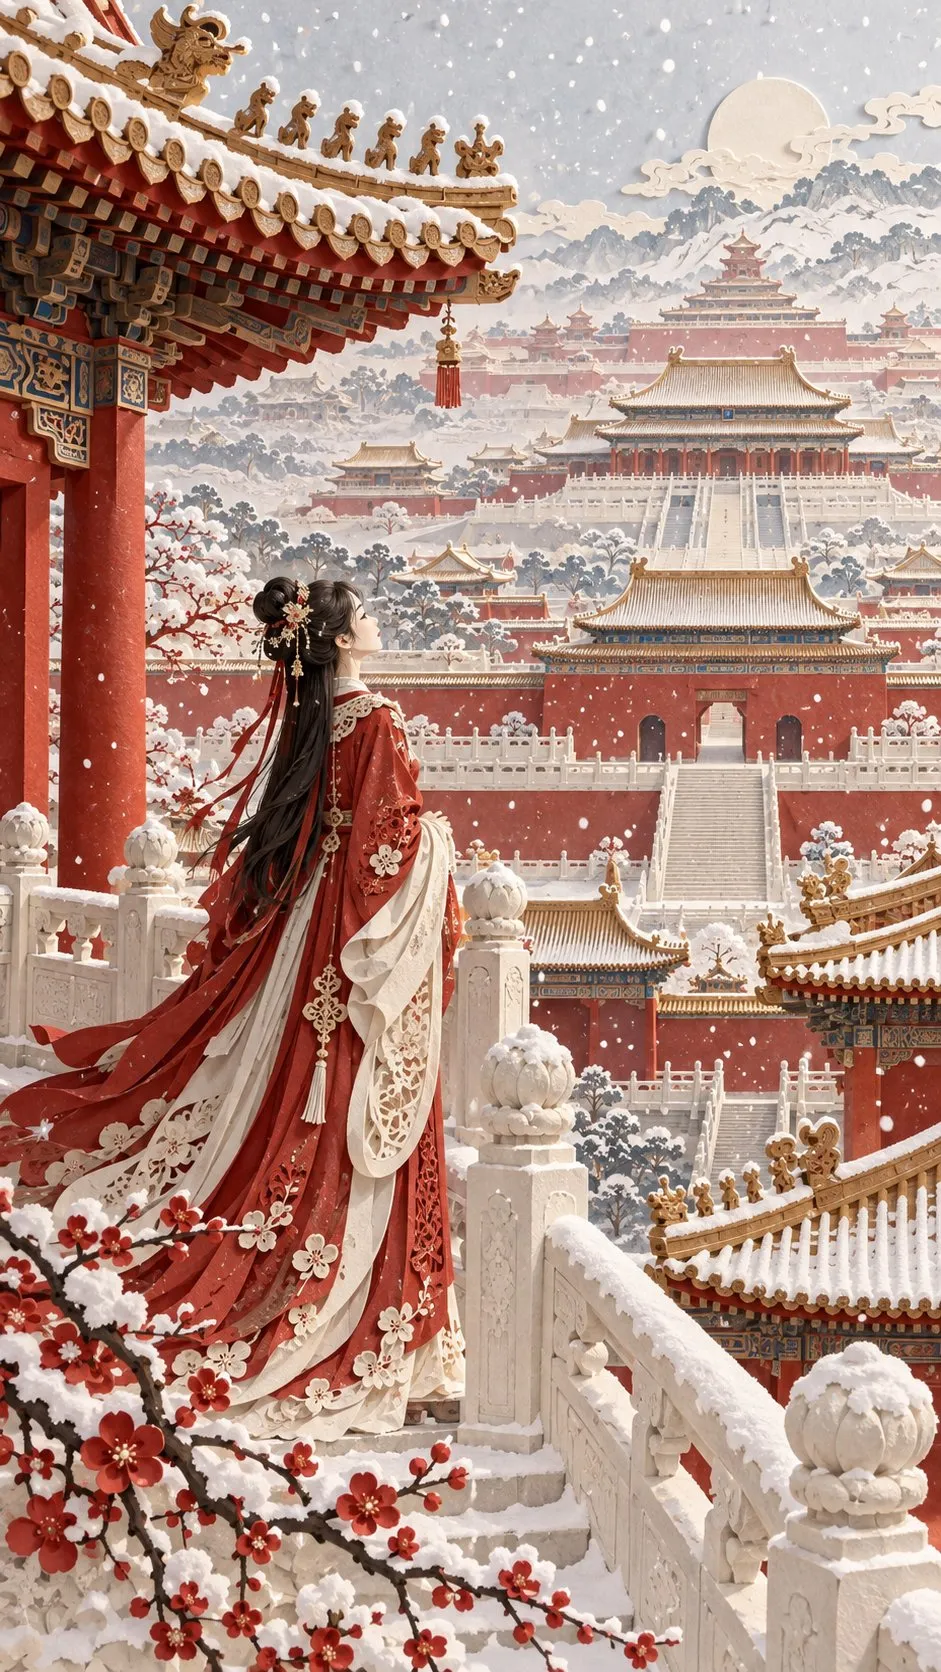
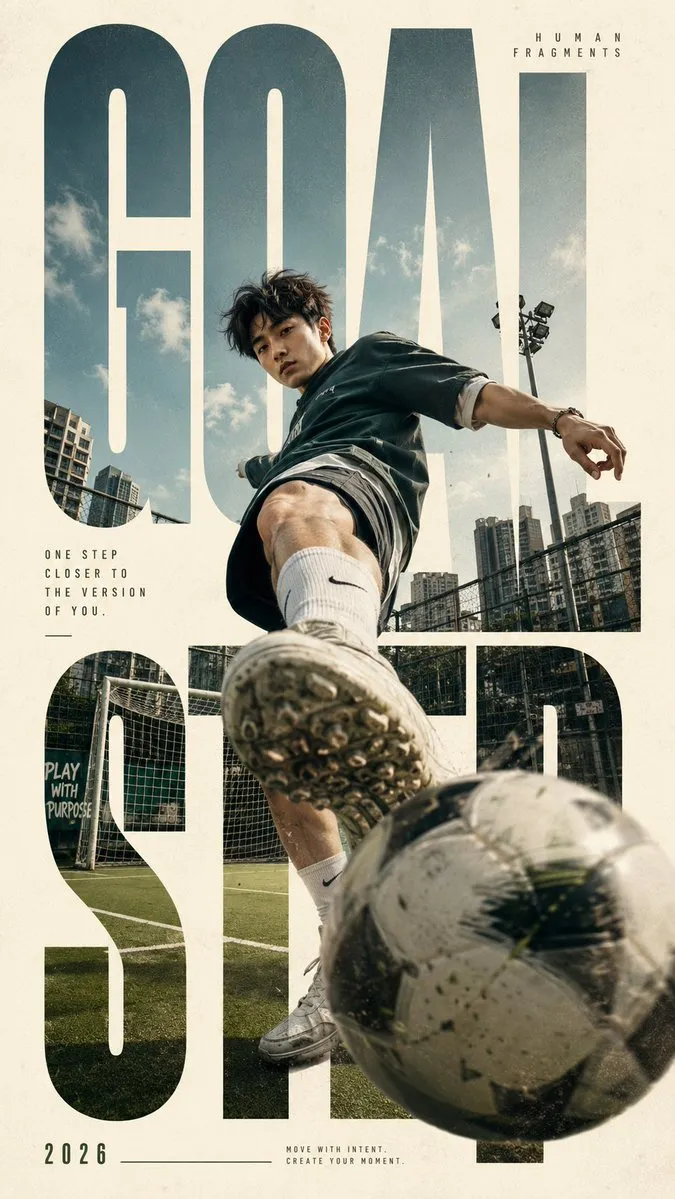
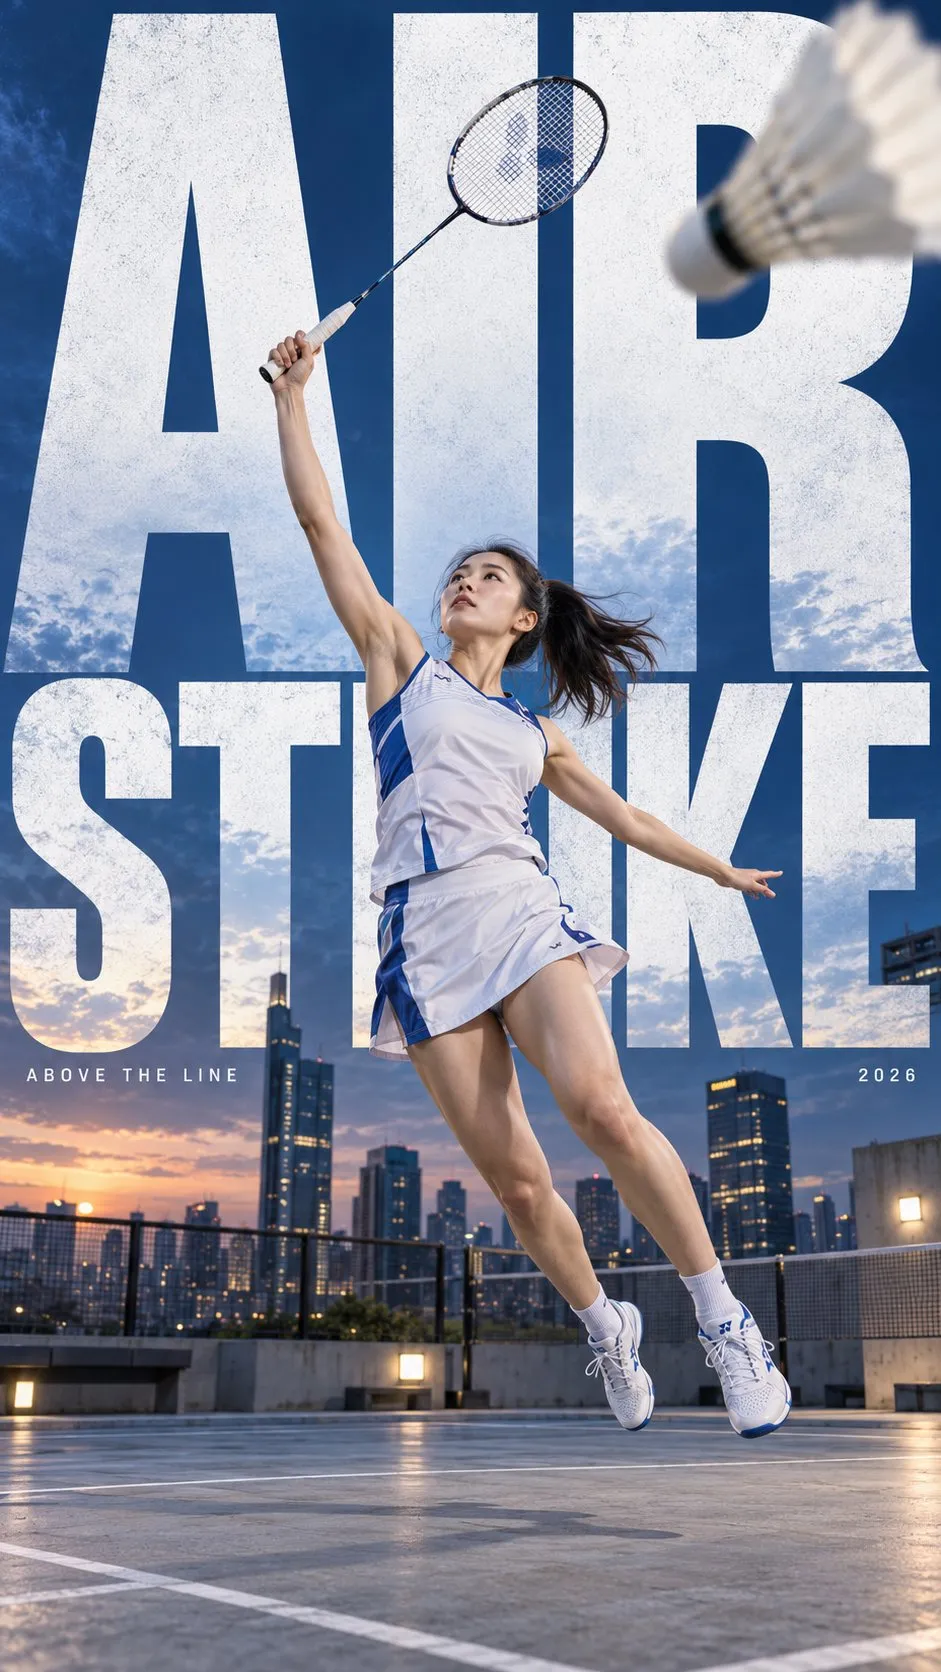
These examples illustrate different aesthetic choices. The sports posters use different subjects, so they should not be treated as a controlled model comparison.
For a continuing series, keep an approved style reference alongside the character reference. Identity and aesthetic consistency are separate jobs.
8. Recompose an image for different aspect ratios
A thumbnail, a portrait cover, and a wide banner need different uses of space. Cropping one image into every format can cut through a face or leave a headline with nowhere to go.
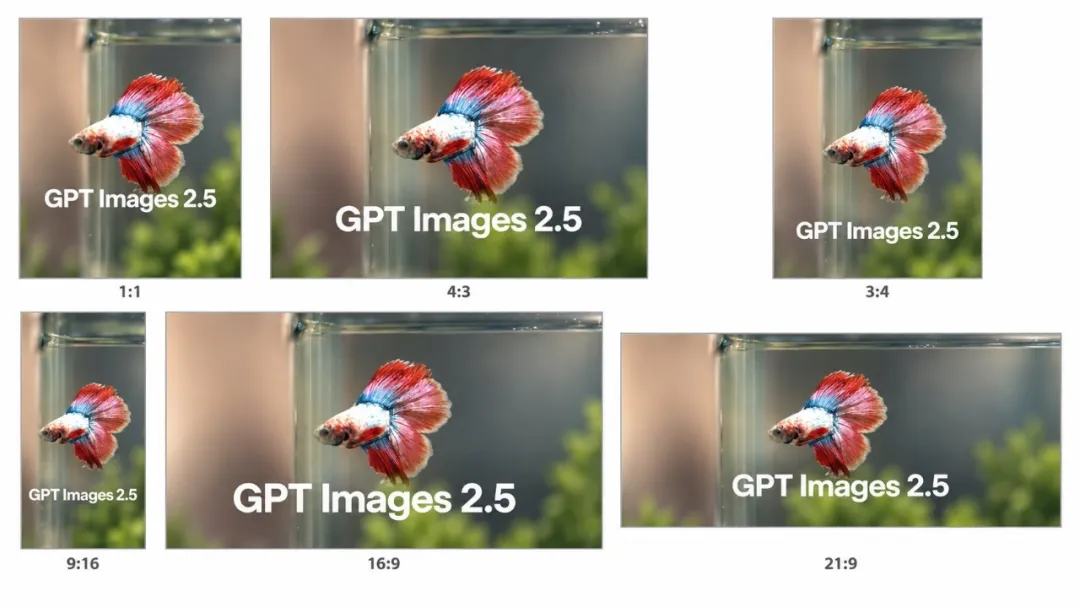
The example explores 1:1, 3:4, 4:3, 9:16, 16:9, and 21:9 layouts.
Ask for recomposition and explain the hierarchy:
Adapt this concept to a 9:16 vertical cover. Keep the main subject recognizable and fully inside the frame. Leave clear space in the upper third for the headline. Recompose the background for the taller format instead of stretching the original image.Check the exported dimensions. A requested ratio is a design instruction; it is not evidence that the file actually has that ratio.
A practical GPT Image 2.5 workflow for creators
Start with one asset and one purpose. Sketch the placement if words become awkward. Generate a first version, save the strongest reference, and revise one decision at a time. Check the result at its intended size before adapting it to additional formats.
The opportunity here is a more direct creative process: draw the layout, point to the change, and describe the details that matter. Clear prompts remain useful, especially for exact copy and complex scenes, but they can work alongside visual instructions.
For your next project, prepare one character sheet, one scene concept, and one cover image. Then start your video project in Pixo and use those decisions to shape the story. If you need help turning a still-image brief into a clear instruction, continue with our GPT Image prompting guide.
Editorial note: This guide analyzes supplied visual demonstrations alongside release information checked on September 9, 2026. It does not report a new Pixo generation benchmark. The example prompts are suggestions and were not used to produce the displayed assets.
Generation, editing and usage references
For GPT Image inputs and output controls, use OpenAI's image-generation documentation. OpenAI's image tool guide separately explains generation and editing in a conversational workflow. For U.S. copyright questions about generated assets, consult the Copyright Office's AI reports and guidance; tool access alone does not settle ownership.
Generate AI summary
From idea to finished video.
In one conversation.
Start CreatingNo credit card required • Free 200 credits