Seedance 2.5 Blockout to Film: Rendering White-Model Previz into Final Shots
How Seedance 2.5 turns gray-box previz into finished footage — coarse vs. fine blockouts, both prompt templates, and a fitness-demo worked example with before/after video.

Previz exists because camera language is hard to say in words. A director can storyboard "the camera cranes down as the two groups collide", but a text-to-video model guessing at that spatial logic gets it right sometimes. Seedance 2.5's answer is to accept the previz itself: upload a white-model animation — gray boxes and stand-in geometry from any 3D tool — as a reference video, and the model renders finished footage on top of it, honoring three things text alone can't pin down:
- Camera language — dolly, crane, orbit; the 3D camera path is read from the blockout and reproduced.
- Spatial composition — who occludes whom, foreground vs. background, held as staged.
- Blocking — each stand-in's position, posture and movement path becomes the character's performance.
This is the previz half of the VFX workflow; the keying half is covered in the companion piece on green-screen editing. Both run in Pixo's Playground with Seedance 2.5 — up to 30 seconds at 720p.
Coarse vs. fine: two blockout modes
| Coarse blockout | Fine blockout | |
|---|---|---|
| What you upload | Simple geometry (spheres, cylinders, boxes) standing in for people and props | Complete 3D models with clear structure and materials |
| What it provides | A motion skeleton: trajectories, camera moves, blocking, light changes, cut timing | A finished animation awaiting materials, lighting and style |
| What the model does | Generates a new video on top of the skeleton | Re-renders the model directly into the target look |
| Current strength | Better today — the official guide recommends coarse | Best when the modeling is already done and only the look changes |
The coarse-blockout template
[Reference declaration] Reference @video 1's {camera moves | actions |
  movement paths | light changes | blocking | pacing}.
[Mapping] Replace the {color/shape} stand-in in @video 1 with @image X's
  {character}; the {color/shape} stand-in with @image Y's {character};
  the {color/shape} stand-in with @image Z's {prop / set piece}.
[Plot detail] The story in timeline order: actions, expressions,
  dialogue, light changes.
[Scene treatment] Text description, or "use @image W's {scene} as the
  background".
[Global wrap] Style, image-quality bar, consistency constraints
  ("no clipping, no face drift"), audio treatment.
The mapping block is the load-bearing part — it's how the model knows the blue cylinder is your elf queen and the gray box is her throne. A minimal real example from the official guide:
Reference @video 1's dynamic camera moves and physical light changes.
Precisely replace the white stand-in in the video with @image 1's elf
queen. Her look must strictly follow the image — long silver hair, an
ornate white-gold embroidered robe, a staff crowned with a glowing
crystal — with full character consistency, no clipping, no face drift.
The scene is the elven great hall; keep @video 1's set as is.
Coarse blockouts with limbs or wings need the full limb action sequence written out, or the motion goes stiff. The official guide's best practice is blunter: don't use limbed stand-ins at all — let the mapping block and plot detail carry the performance.
The fine-blockout template
[Render instruction] Render @video 1's white-model animation into a
  final film.
[Per-segment description] 0–{N}s: {environment, palette and mood,
  character materials, lighting}. At {N}s, {transition trigger and type}:
  {the new segment's render description}.
[Scene treatment] Text, or background from @image W.
[Global wrap] Whether character rendering stays fixed or follows the
  scene; audio treatment.
Before exporting a fine blockout from your 3D tool, strip the trajectory lines, coordinate axes and camera cones from the viewport — the model reads them as picture content and they leak into the render.
Here's the fine template running for real — a wireframe ocean with a red boat marker, rendered into a storm at sea:
Render @video 1's white-model animation into a final film.
0–7s: photoreal ocean night render. Deep gray-blue storm sea, huge waves
rolling continuously, cold low-saturation cinematic palette; waves with
real volume, fluid detail and layered foam. The floating red-and-white
lighthouse keeps its metal and worn-paint materials, pitching and heeling
naturally with the swell. Heavy cloud cover with fine rain; faint distant
lightning as fill. HDR lighting, volumetric fog, real environment
reflections, wet speculars and dynamic shadows — materials and light must
stay continuous through the camera move.
Scene: the storm sea is the only setting; the sea dominates the frame,
horizon and clouds blending naturally. The lighthouse stays near frame
center, driven by the swell — real pitch and heel, no deformation or size
change. Rain, spray and fog share one wind direction and physics; the
camera may bob gently with the waves.
Wrap: keep the scene, render style, lighthouse materials, wave fluids and
lighting consistent. Character rendering: unchanged (no characters).
Fine blockout
Rendered result
Note how much of that prompt is material talk — foam layers, worn paint, wet speculars. In the fine mode, motion is already solved; the prompt's whole job is the look.

Create AI videos with Pixo
Turn any idea into a publish-worthy video. One sentence is all it takes.
Worked example: fitness demo, blockout to final
From the official guide's test set — a CG stand-in performing a cable-row sequence (with a glowing form-check effect), rendered into a live-action shot:
Generate a fitness technique explainer: render @video 1. The performer
references @image 1 — strictly execute the movements in the video. Her
face, build and outfit must exactly match @image 1, with no face drift
and no altered movements throughout. Render the scene as @image 2's gym
environment, and keep the glowing effects from the original video.
Blockout reference
Rendered result
Watch the ✓ form-check glow: the prompt asked for the original video's effects to survive the render, and they do — same timing, same position, now tracking a real performer. That's the blockout promise in one detail: the motion layer is authored once and kept; only the look is regenerated.
Worked example: one skeleton, four worlds
The most striking case in the official set pushes that promise to its limit. The reference is a single gray mannequin trudging forward against resistance. The prompt renders it into four different films in sequence — a hard cut every five seconds, a new first-frame reference image per segment:
Follow @video 1's motion throughout; fixed camera; no BGM, sound
effects on.
First frame per @image 1 — 0–5s: a heavy vintage copper-helmet diver
drags a glowing yellow-green sample sphere, swimming slowly forward, the
helmet lamp cutting clean light shafts; top right, a giant ice-blue
jellyfish pulses in slow breaths; schools of glowing fish cruise past.
Hard cut. First frame per @image 2 — 6–10s: a lone astronaut in a
weathered suit struggles left-to-right across cracked wasteland, body
pitched deep against hurricane headwind, broken cables and cloth
streaming behind; debris whips past the lens; a vast glowing black-hole
accretion disk turns slowly in the sky.
Hard cut. First frame per @image 3 — 11–15s: every step heavy, cracked
earth kicking up dust, robes and hair blown back; a taut chain drags a
huge teal legendary blade behind, striking sparks and green energy from
the ground; golden sunset backlight, runes glowing in the cracks.
Hard cut. First frame per @image 4 — 16–20s: low-gravity steps raising
slow-settling moon dust; the towed capsule scrapes a gray trail; wrecked
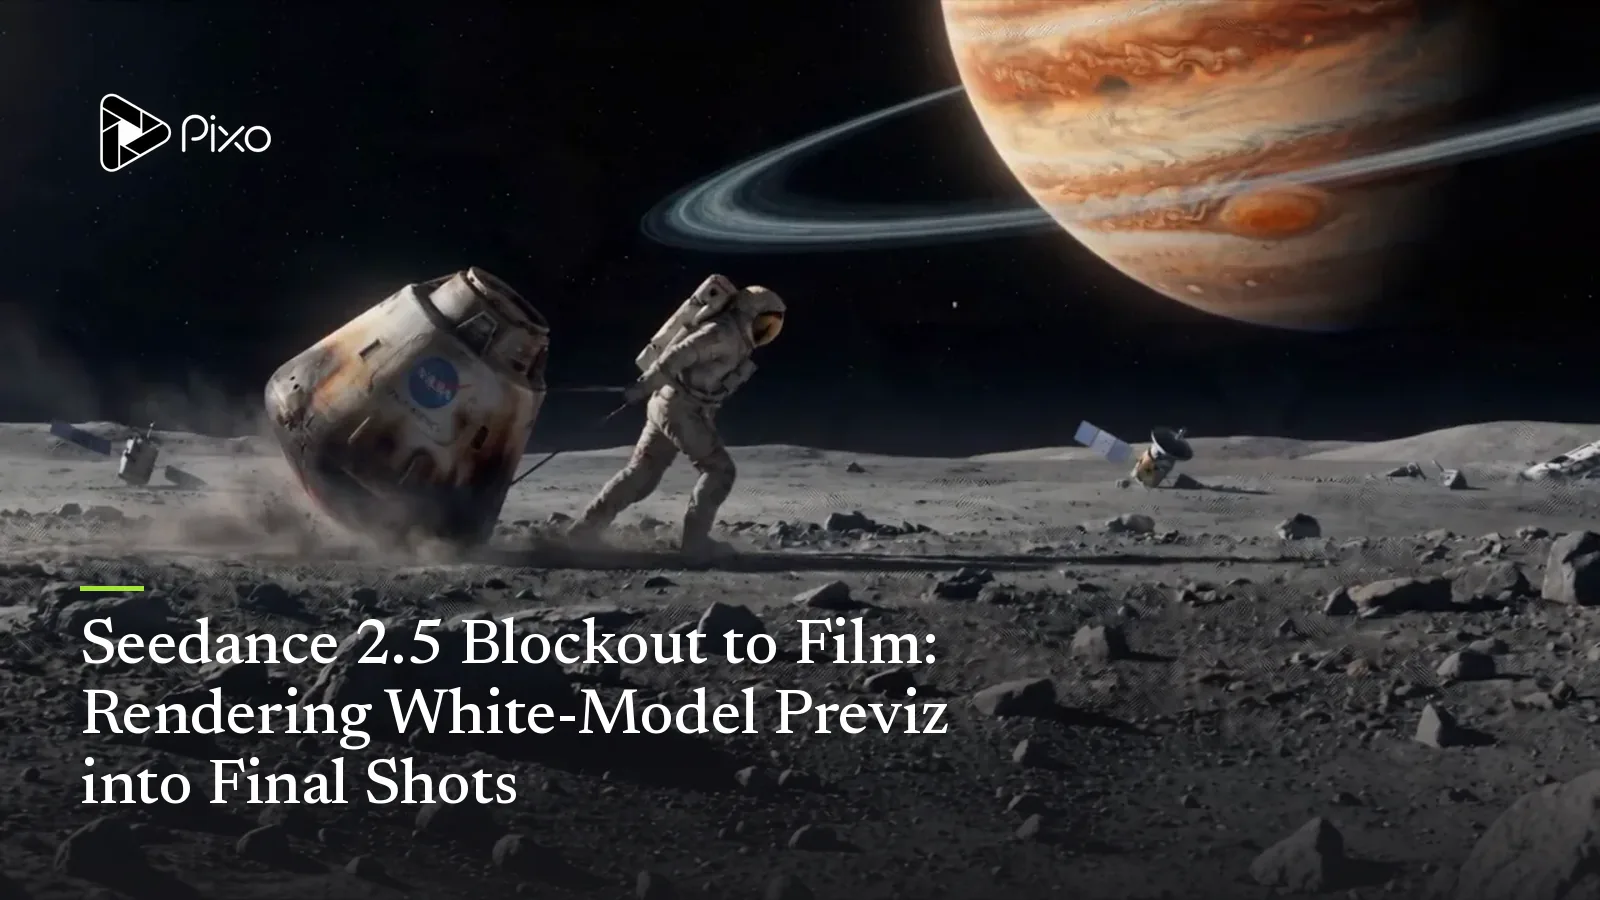
ships on the horizon; a giant Jupiter turning slowly overhead.
Mannequin blockout
Four-world render
One motion performance, four productions. This is also the counterexample to the no-limbs rule: a limbed mannequin can work — the prompt earns it by describing each segment's body mechanics ("body pitched deep against the headwind", "low-gravity steps") instead of leaving the limbs to fate. The official verdict: rendered exactly to prompt and references.
Worked example: the minimal version
And at the other end of the effort scale, sometimes the render instruction is one line:
Render @video 1. The walking figure references @image 1; render the scene
as ancient battlefield ruins, backlit; strictly keep the original
video's camera moves.
Blockout
Rendered result
White stairs become sun-struck stone; the walk cycle, the staging and the camera survive untouched. Character reference, scene, light, camera constraint — four clauses is a complete render prompt when the blockout carries the rest.
Where this pays off
- Previz to pitch — a director or storyboard artist turns gray-box previz into lit, textured, cinematic frames in one pass; blocking conversations happen on real-looking footage.
- Complex action and staging — multi-character fights, vehicle chases, big spatial moves: anything where camera logic must be exact is authored in 3D and rendered by the model.
The general prompting foundations — character formulas for your mapped-in performers, timestamp scripting for per-segment renders — are in the Seedance 2.5 prompt guide. Reference sweet spots live on the model page.
Try it with a gray box
Export a five-second blockout — even primitive shapes on a camera path — map one character image onto it, and render. The first time the model honors your crane move is the moment this clicks.
Run this on Pixo
- Sign up at pixo.video — new accounts start with 200 free credits.
- Open the Playground and pick Seedance 2.5 as the model.
- Upload your blockout video and character images, paste a render prompt from this post, and generate — up to 30 seconds at 720p.
Generate AI summary
From idea to finished video.
In one conversation.
Start CreatingNo credit card required • Free 200 credits